


Learn how to perform die replacement on a tube bending machine efficiently. This guide covers tooling selection, replacement steps, trial bending, maintenance tips, and important safety considerations for accurate tube bending.
Introduction
Efficient machine setup is just as important as accurate bending in modern tube fabrication. Whether a factory is producing furniture components, automotive exhaust pipes, fitness equipment, or industrial piping, changing products often means changing tooling. As a result, die replacement is one of the most common setup procedures performed on a tube bending machine.
Although many operators consider die replacement a routine task, improper installation can directly affect bending quality and production efficiency. Problems such as wrinkles, tube flattening, unstable clamping, inconsistent bending angles, or premature die wear are often caused by incorrect tooling installation rather than programming errors.
Understanding the correct die replacement procedure not only helps reduce machine downtime but also ensures stable bending performance and extends tooling life. This guide explains the principles, preparation steps, replacement process, and practical considerations involved in die replacement while highlighting several important points that operators should keep in mind during actual production.
Why Is Die Replacement Important?
Different bending jobs require different tooling configurations. Even if two workpieces are made from the same material, variations in tube diameter, wall thickness, bending radius, or product geometry may require completely different dies.
Proper die replacement ensures that every tooling component matches the production requirements and works together to guide and support the tube during bending. When the correct dies are installed and aligned properly, the machine can produce consistent bends with high repeatability while reducing unnecessary stress on both the tooling and the workpiece.
In contrast, using mismatched or incorrectly installed dies may lead to poor bending quality, material waste, additional adjustments, and unexpected downtime. From a production management perspective, efficient die replacement is therefore an important factor in improving machine utilization and maintaining stable manufacturing quality.
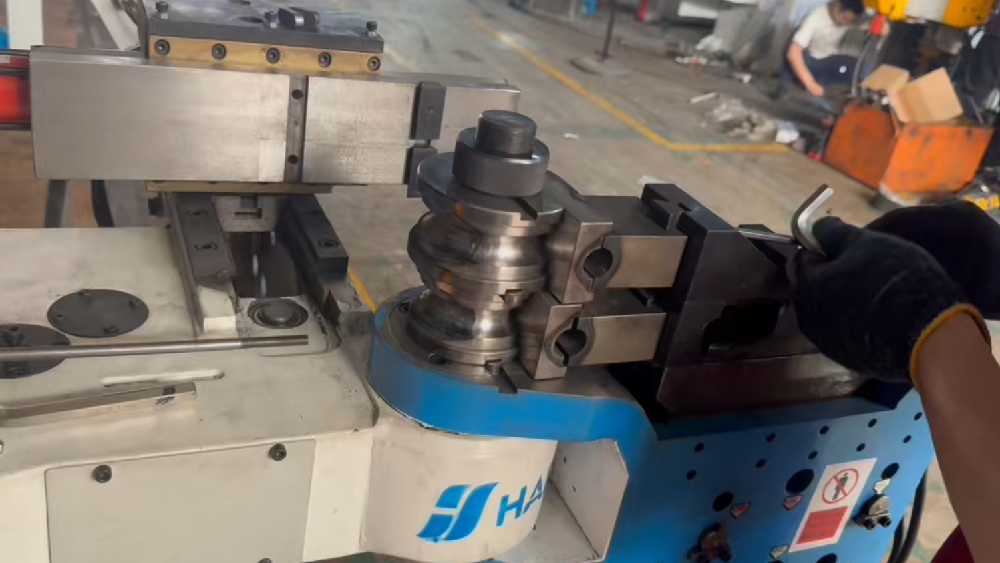
Understanding the Main Dies on a Tube Bending Machine
Before discussing the replacement procedure, it is useful to understand the basic function of each major tooling component.
Bend Die
The bend die is the primary forming tool that determines the bending radius and rotates together with the workpiece during bending. Selecting the correct bend die is essential because its dimensions must correspond to the tube diameter and required bending radius.
Clamp Die
The clamp die holds the tube firmly against the bend die while the bending cycle is performed. Stable clamping prevents slippage and helps maintain positioning accuracy throughout the operation.
Pressure Die
The pressure die supports the straight section of the tube and controls material flow during bending. Proper adjustment of this die contributes to smoother deformation and helps reduce wrinkles or excessive flattening.
Wiper Die and Mandrel (If Equipped)
Some applications, especially thin-wall or tight-radius bending, require additional tooling such as a wiper die or mandrel. A wiper die helps prevent wrinkles on the inside radius, while a mandrel supports the tube internally to reduce collapse during bending.
Although not every machine uses these components, understanding their function is helpful when planning die replacement and machine setup.
How to Choose the Correct Dies
Successful die replacement begins with selecting the correct tooling rather than simply installing new components.
Operators should verify several factors before installation, including:
- Tube outside diameter
- Wall thickness
- Required bending radius
- Tube material
- Production requirements
For example, stainless steel tubes with thin walls may require different tooling combinations compared with carbon steel tubes of the same diameter. Choosing unsuitable dies can affect bending accuracy even if the machine program is completely correct.
Experienced technicians therefore treat die selection as part of the die replacement process instead of a separate task.
Before You Start
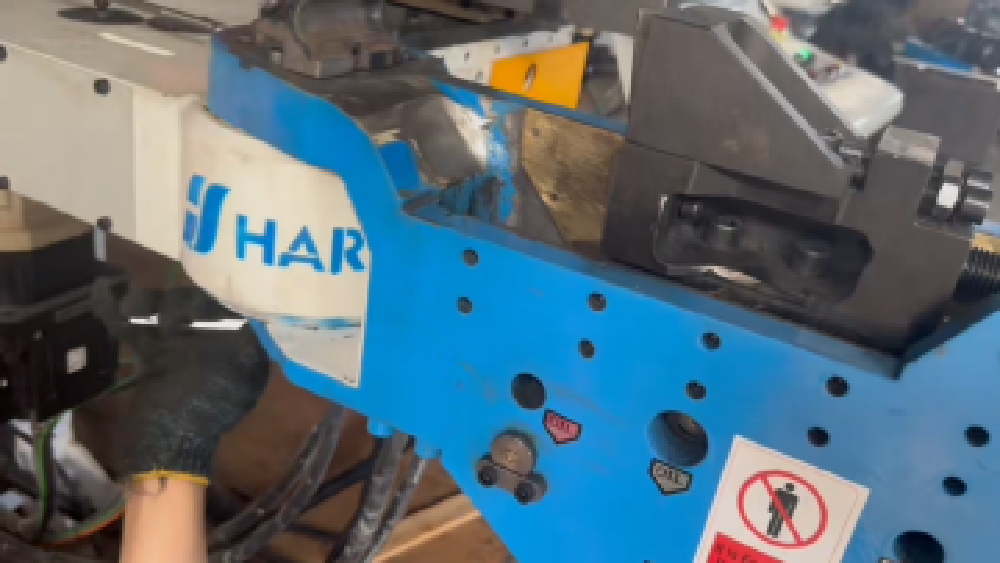
Before beginning die replacement, the machine should be placed in a safe operating condition.
Operators are recommended to:
- Complete the current bending cycle.
- Return moving axes to safe positions.
- Prepare all replacement tooling.
- Verify tooling specifications.
- Wear appropriate personal protective equipment.
- Ensure sufficient workspace around the machine.
It is also important to understand that different tube bending machine manufacturers may use different tooling structures, locking mechanisms, and adjustment methods. Therefore, the procedure described in this guide should be regarded as a general reference for learning purposes only. Actual die replacement should always follow the machine manual or be confirmed with the manufacturer’s technical support team.
Preparation Before Die Replacement
Good preparation can significantly improve the efficiency of die replacement and reduce unnecessary troubleshooting after installation.
Before removing existing tooling, inspect the replacement dies for visible damage or excessive wear. At the same time, carefully clean all mounting surfaces to remove metal chips, dust, rust, or residual lubricant.
Although these contaminants may appear insignificant, they can prevent proper seating of the tooling and introduce alignment errors that directly influence bending quality. In practical production, experienced operators often spend extra time cleaning and inspecting the installation area because they understand that accurate positioning begins with clean contact surfaces.
If heavy tooling needs to be handled manually, suitable lifting methods should also be adopted to protect both personnel and precision-machined components.
Step-by-Step Die Replacement Procedure
The exact replacement process varies among different machine models, but the overall workflow is generally similar.
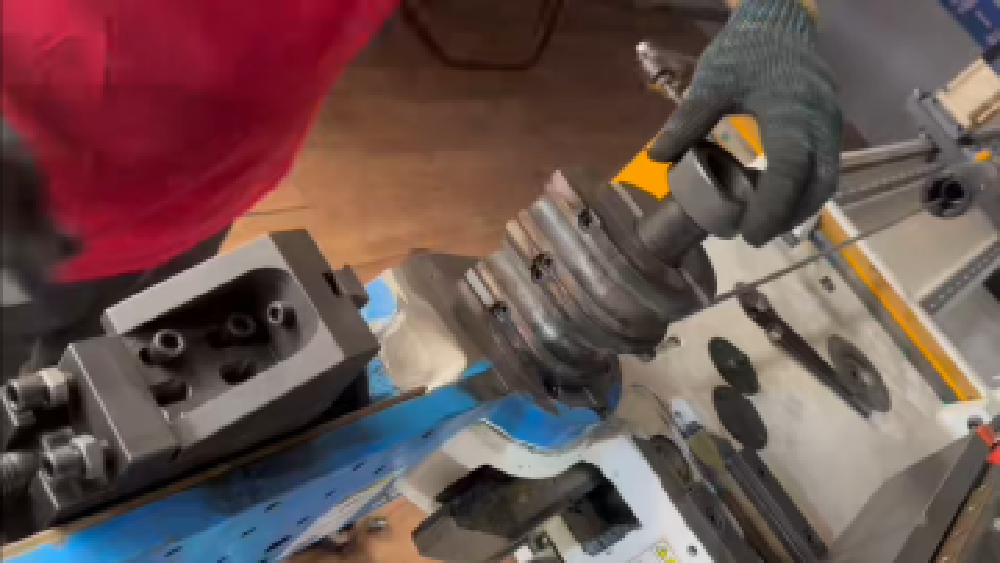
Step 1: Remove the Existing Tooling
Release the locking mechanism according to the machine design and carefully remove the installed dies.
During removal, avoid striking or dragging the tooling across precision surfaces, as this may reduce service life or affect future installation accuracy.
Step 2: Clean and Inspect the Installation Area
After removing the old dies, clean the mounting surfaces thoroughly and inspect them for damage or abnormal wear.
This simple operation helps ensure that the replacement tooling can be installed accurately without unwanted positioning deviations.
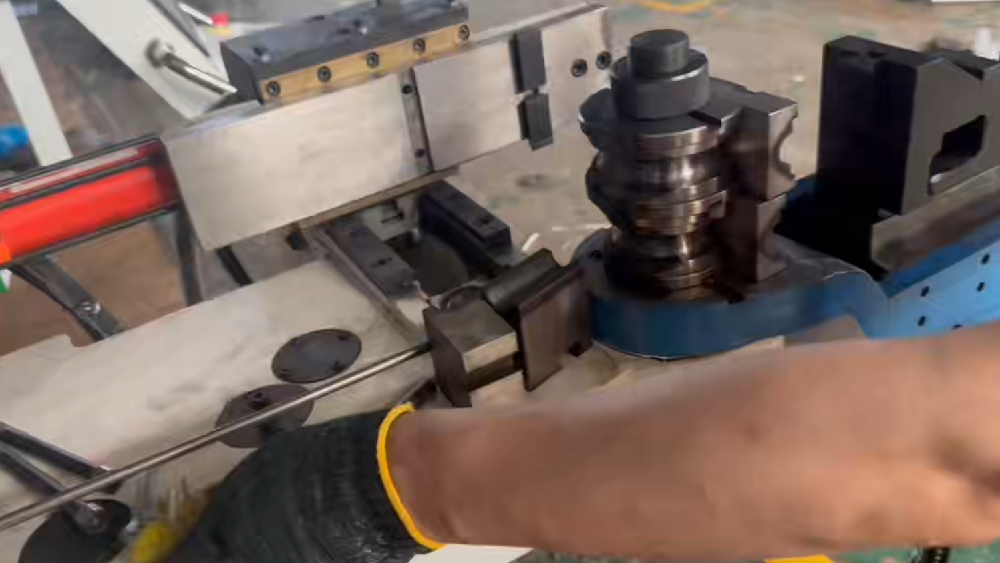
Step 3: Install the New Bend Die
Mount the new bend die according to the required tube diameter and bending radius.
Before tightening, confirm that the die sits correctly on its locating surface and that no foreign material is trapped underneath.
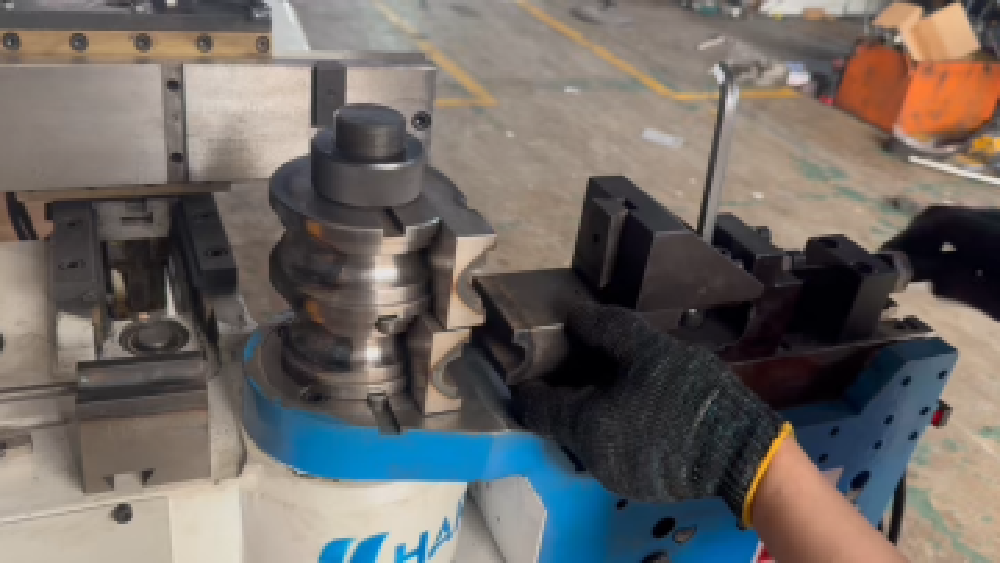
Step 4: Install the Clamp Die and Pressure Die
Install the clamp die and pressure die while maintaining proper alignment with the bend die.
Correct positioning is essential because these components work together during bending. Misalignment may reduce clamping stability and affect the final bending result.
Step 5: Install Additional Tooling if Required
If the process requires a wiper die or mandrel, install and adjust these components according to the workpiece specifications.
Different applications may require different clearance settings, so adjustments should be made carefully.
Step 6: Tighten and Verify
After completing die replacement, tighten all fixing components securely and verify that every tooling element is properly installed before machine movement begins.
A final visual inspection at this stage can prevent many unnecessary problems during production.
Trial Bending and Fine Adjustment
Completing die replacement does not mean that the machine is immediately ready for mass production.
In practical manufacturing environments, experienced operators usually perform one or more trial bends before starting continuous production. This verification process helps confirm that the newly installed tooling is correctly aligned and functioning as expected.
During the trial bend, attention should be paid to:
- Bending angle
- Bending radius
- Surface quality
- Tube flattening
- Wrinkle formation
- Clamping stability
If any abnormal results are observed, operators should first inspect tooling alignment and installation quality before modifying machine parameters. In many cases, slight positioning errors introduced during die replacement are the actual cause of bending defects.
Common Mistakes During Die Replacement
Several common mistakes frequently occur during die replacement and may negatively affect production quality.
These include:
- Installing dies with incorrect specifications.
- Failing to clean mounting surfaces.
- Tightening bolts unevenly.
- Ignoring tooling alignment.
- Skipping trial bending before production.
Although these mistakes appear minor, they can result in repeated adjustments, material waste, or unexpected downtime. Establishing standardized operating procedures helps minimize such risks.
Important Notes Before Actual Operation
The tooling structure and replacement method of tube bending machines may vary depending on the manufacturer and model.
For this reason, the die replacement procedure demonstrated in videos or described in general tutorials should only be regarded as a technical reference.
Operators should always:
- Follow the equipment manual.
- Confirm replacement procedures with technical personnel.
- Verify machine compatibility before adjustment.
- Avoid modifying machine settings without authorization.
This approach not only improves operational safety but also reduces the possibility of incorrect maintenance caused by differences between machine designs.
Conseils d'entretien
Proper maintenance can extend tooling life and reduce the frequency of die replacement.
Recommended practices include:
- Clean dies after each production shift.
- Apply anti-rust protection during storage.
- Inspect wear regularly.
- Lubricate moving contact surfaces when required.
- Store different die sets separately.
- Check fastening components before production.
Regular maintenance helps maintain bending accuracy while reducing long-term operating costs.
FAQ
How often should die replacement be performed?
Die replacement should be carried out whenever the tube specification changes or when existing tooling shows excessive wear that may affect bending quality.
Can one set of dies be used for different tube diameters?
No. Each die is designed for specific tube dimensions and bending requirements. Using incorrect tooling may reduce bending accuracy and damage the workpiece.
Is trial bending necessary after die replacement?
Yes. Trial bending verifies tooling installation and helps identify alignment issues before batch production begins, reducing material waste and improving consistency.
Do all tube bending machines follow the same replacement procedure?
Not necessarily. Different manufacturers and machine models may use different tooling structures and installation methods. Always follow the equipment manual or consult the manufacturer’s technical support before performing die replacement.
Conclusion
Die replacement is far more than a routine setup operation. It is a critical procedure that directly influences bending quality, production efficiency, tooling life, and machine reliability. Selecting suitable tooling, installing it correctly, and verifying performance through trial bending can significantly reduce manufacturing defects while improving production consistency.
Although the basic principles discussed in this guide apply to most tube bending machines, actual replacement procedures may differ according to machine configuration and manufacturer design. Therefore, operators should regard this tutorial as a general learning reference and always combine it with the specific requirements of their own equipment to achieve safe and reliable operation.


