


Black or Burnt Edges in Лазерная резка are common quality issues that can affect the appearance, accuracy, and performance of laser-cut parts. If you’ve noticed dark discoloration, excessive heat marks, or charred edges on your workpieces, several factors may be responsible. In this article, I’ll explain the most common causes of black or burnt edges in laser cutting and provide practical solutions to eliminate them. By understanding these issues and applying the correct adjustments, you can improve cut quality, reduce rework, and maintain consistent production results.
Understanding Black or Burnt Edges in Laser Cutting
What Are Burnt Edges?
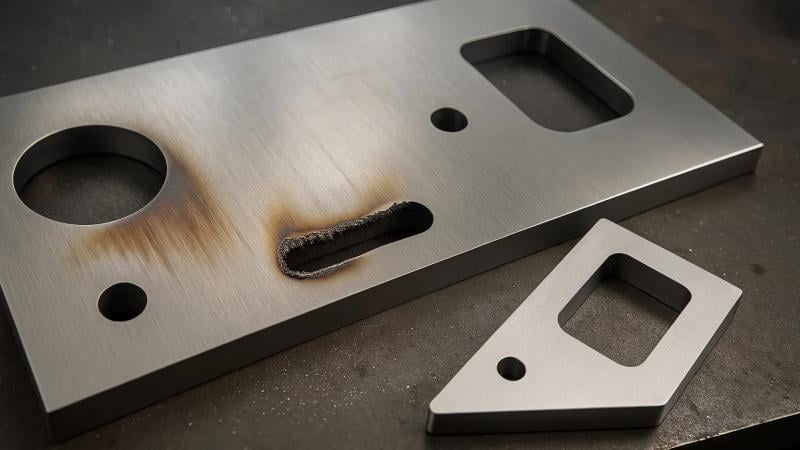
Burnt edges appear as darkened, oxidized, or charred areas along the cut edge of a metal sheet. They are usually caused by excessive heat accumulation during the cutting process.
К распространенным симптомам относятся:
- Dark or black discoloration
- Excessive oxidation
- Rough edge surfaces
- Heat-affected zones (HAZ)
- Reduced edge quality
These defects are particularly noticeable when cutting carbon steel, stainless steel, or coated metals.
Why Edge Quality Matters
Poor edge quality can create several problems:
- Additional grinding or finishing work
- Reduced dimensional accuracy
- Difficulty in welding or coating
- Increased production costs
- Lower customer satisfaction
Maintaining clean, bright cut edges is essential for high-quality fabrication.
Common Causes of Black or Burnt Edges in Laser Cutting
Incorrect Cutting Speed

Cutting speed directly affects heat input.
When the cutting speed is too slow, the laser remains focused on the material longer than necessary, generating excessive heat.
Signs of slow cutting speed include:
- Wide heat-affected zones
- Heavy oxidation
- Dark edge coloration
- Excessive slag formation
Adjusting the cutting speed appropriately often resolves the issue quickly.
Excessive Laser Power

Using more laser power than required can overheat the material.
While high power may seem beneficial, excessive energy causes:
- Material burning
- Edge melting
- Increased oxidation
- Rough cut surfaces
Always match laser power settings to the material thickness and type.
Improper Focus Position
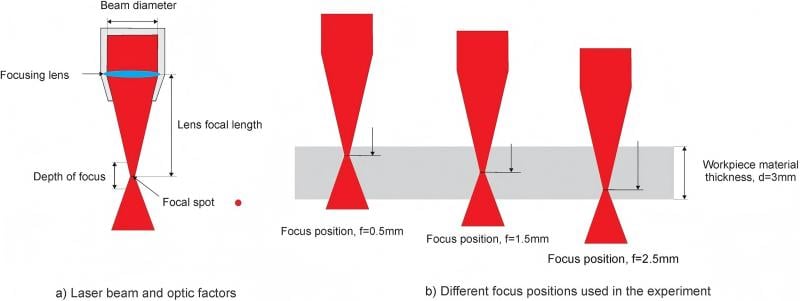
The focal point plays a critical role in cutting quality.
If the focus is too high or too low:
- Energy distribution becomes uneven
- Heat accumulates excessively
- Cutting efficiency decreases
- Burn marks may appear along the edges
Performing a focus test can help identify the optimal focal position.
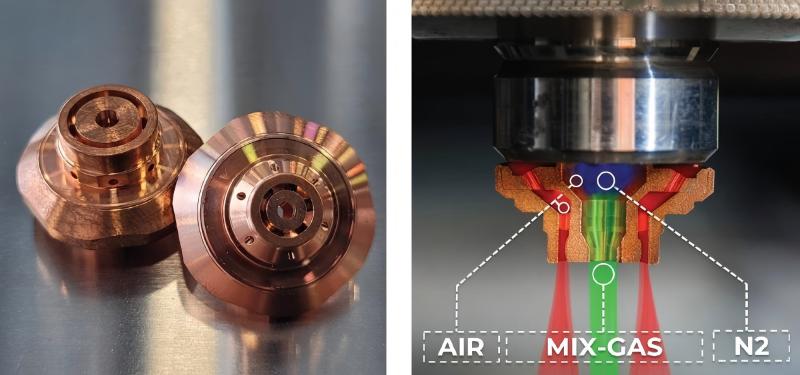
Insufficient Assist Gas Pressure
Assist gas removes molten material and cools the cutting zone.
Low gas pressure can result in:
- Incomplete removal of molten metal
- Excessive oxidation
- Burnt edges
- Poor surface finish
Regularly inspect gas regulators and supply lines to maintain stable pressure.
Poor Assist Gas Quality
Contaminated assist gas can significantly affect cutting quality.
Impurities such as:
- Moisture
- Oil residue
- Dust particles
can contribute to oxidation and discoloration during cutting.
Using high-purity nitrogen or oxygen helps achieve cleaner results.
Dirty Nozzle or Protective Lens
A contaminated nozzle or lens disrupts laser beam quality.
Common consequences include:
- Uneven energy distribution
- Reduced cutting efficiency
- Excessive heat buildup
- Burnt or blackened edges
Routine cleaning and inspection are essential preventive measures.
Step-by-Step Troubleshooting for Burnt Laser Cutting Edges
H3: Step 1: Check Material Specifications
Begin by verifying:
- Тип материала
- Толщина
- Surface condition
- Protective film quality
Different materials require different cutting parameters.
Step 2: Verify Cutting Parameters
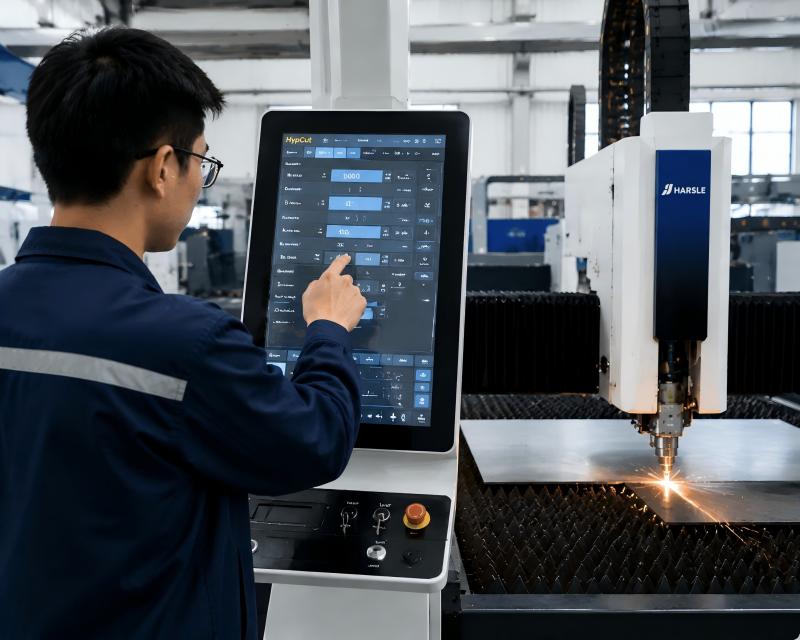
Review machine settings carefully.
Check:
- Laser power
- Скорость резки
- Частота
- Focus position
- Давление газа
Compare current parameters with the manufacturer’s recommendations.
Step 3: Inspect the Nozzle
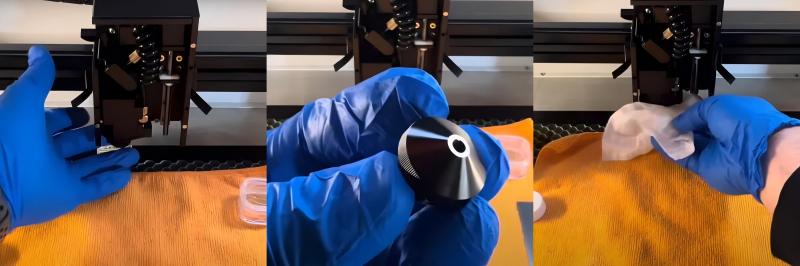
Remove the nozzle and look for:
- Damage
- Spatter buildup
- Несоосность
- Blockages
Replace damaged nozzles immediately.
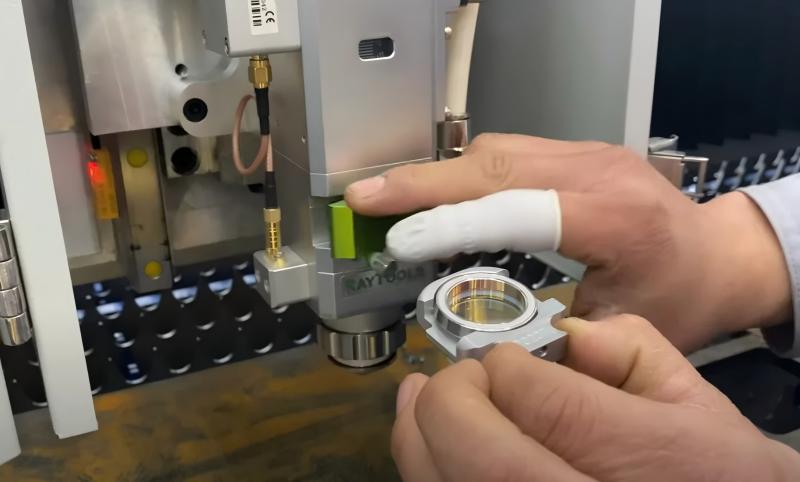
Step 4: Examine Optical Components
Inspect:
- Protective lens
- Focusing lens
- Collimating lens
Any contamination can reduce beam quality and increase heat concentration.
Step 5: Test Assist Gas System
Verify:
- Gas purity
- Pressure stability
- Шланговые соединения
- Regulator performance
Proper gas flow is essential for preventing oxidation and burn marks.
Step 6: Perform a Sample Cut
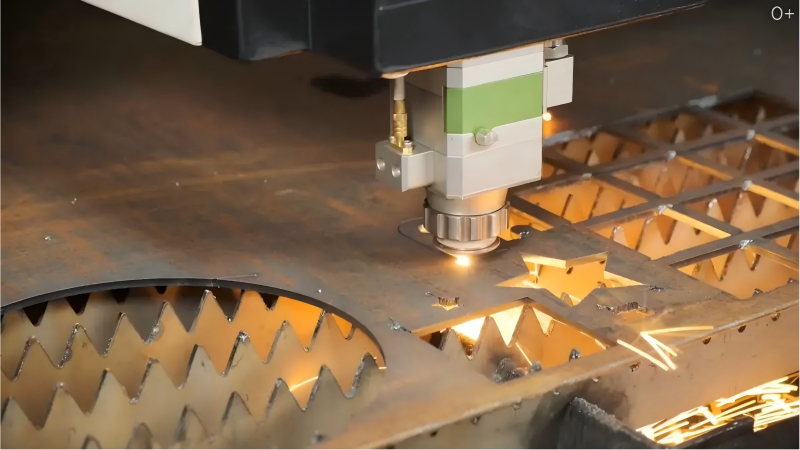
After adjustments, perform a trial cut on scrap material.
Evaluate:
- Edge color
- Surface finish
- Kerf quality
- Slag formation
Continue fine-tuning parameters until optimal results are achieved.
Best Practices to Prevent Black or Burnt Edges in Laser Cutting
Maintain Clean Optics
Clean optical components regularly using approved cleaning materials.
This helps maintain:
- Consistent beam quality
- Maximum cutting efficiency
- Reduced heat concentration
Monitor Gas Quality
Install proper filtration systems and monitor gas purity regularly.
Clean gas contributes significantly to bright, oxidation-free edges.
Optimize Cutting Parameters for Each Material
Avoid using universal settings for all materials.
Create parameter libraries based on:
- Тип материала
- Толщина
- Surface condition
This improves consistency and reduces setup time.
Schedule Routine Maintenance
Профилактическое техническое обслуживание должно включать в себя:
- Nozzle inspections
- Lens cleaning
- Gas system checks
- Cooling system monitoring
- Motion system calibration
Regular maintenance minimizes cutting defects and machine downtime.
Вопросы и ответы
Why do I see black or burnt edges in laser cutting stainless steel?
Burnt edges on stainless steel are often caused by improper nitrogen pressure, incorrect focus position, excessive laser power, or contaminated optics. Optimizing these settings typically resolves the issue.
Can low gas pressure cause black edges during laser cutting?
Yes. Low assist gas pressure prevents effective removal of molten material and allows oxidation to occur, resulting in blackened or burnt edges.
How often should I clean the nozzle and lens?
For daily production environments, I recommend inspecting the nozzle and protective lens every day and cleaning them whenever contamination is detected.
Заключение
Black or Burnt Edges in Laser Cutting are usually caused by excessive heat, incorrect cutting parameters, poor gas quality, insufficient gas pressure, improper focus settings, or contaminated optical components. By systematically checking these factors and applying the correct adjustments, you can significantly improve edge quality and production efficiency.
Regular maintenance, proper parameter optimization, and routine inspections are essential for achieving clean, bright, and consistent laser-cut edges. If you need assistance optimizing your laser cutting process or troubleshooting edge quality problems, contact the HARSLE technical team for professional support and guidance.


