


Maintaining a clean laser cutting bed is essential for achieving precise cuts and prolonging the life of your equipment. Laser Cutting Bed Cleaning is not just about aesthetics—it directly impacts cutting accuracy, reduces fire hazards, and prevents damage to both the material and the machine. In this article, I’ll guide you through effective cleaning techniques, step-by-step procedures, and best practices to ensure your laser cutting bed remains in optimal condition. By following these methods, you can enhance production quality, improve safety, and extend the operational lifespan of your Laserschneiden System.
Why Regular Laserschneiden Bed Cleaning is Important
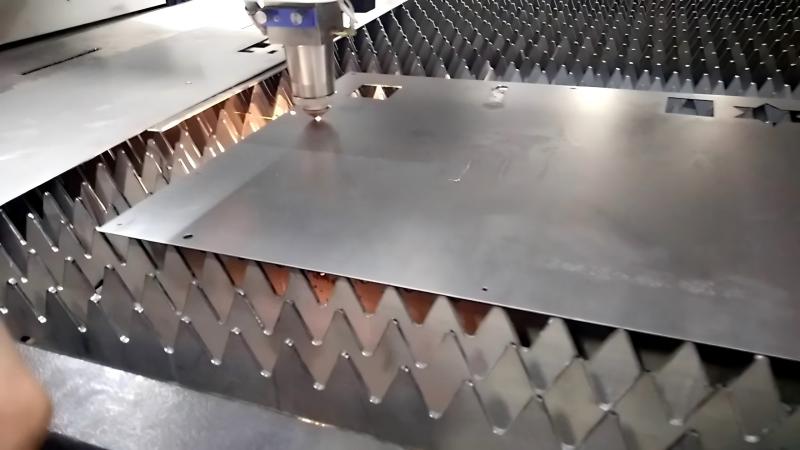
Preventing Debris Accumulation
Metal dust, slag, and cut residues can accumulate on the bed, interfering with the material alignment and laser focus. Regular cleaning prevents inaccurate cuts and reduces the risk of burning or scorching the workpiece.
Enhancing Laser Performance
A clean bed ensures the laser beam reflects and passes through the system accurately. Dirt, smoke residue, or metal particles can scatter the beam, reducing cutting efficiency and precision.
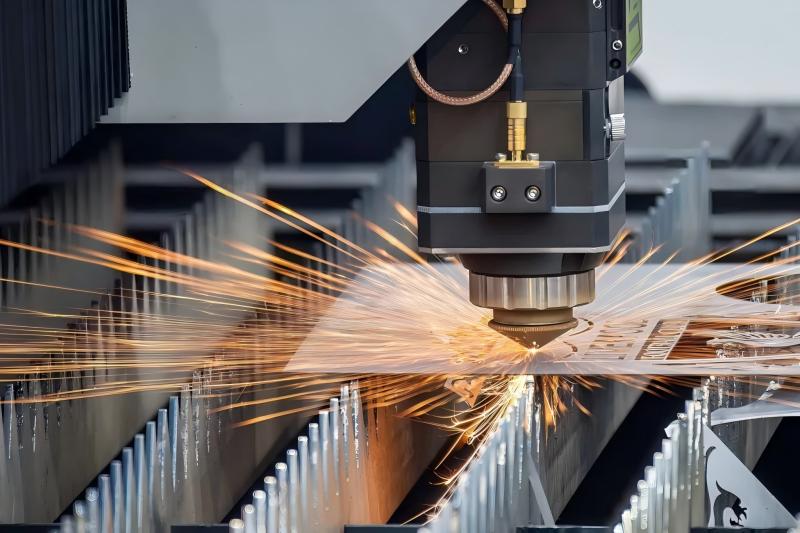
Minimizing Fire and Safety Risks
Accumulated residues, especially from cutting flammable materials, can pose fire hazards. Cleaning the bed regularly reduces the risk of sparks igniting residual debris, improving overall workplace safety.
Step-by-Step Guide for Laser Cutting Bed Cleaning
Step 1: Power Down and Secure the Machine
Always turn off the laser cutting machine and disconnect it from power sources before beginning cleaning. This prevents accidental activation and ensures your safety during the cleaning process.
Step 2: Remove Loose Debris
Using a soft brush or vacuum, remove any loose metal dust, scraps, or slag from the bed. Avoid using compressed air that could scatter fine particles into sensitive areas of the laser system.
Step 3: Clean the Bed Surface

For stubborn residues, use a lint-free cloth dampened with a mild, non-abrasive cleaner. Gently wipe the bed surface to avoid scratching or damaging the bed, which could affect material placement and cutting accuracy.
Step 4: Inspect and Maintain Bed Components
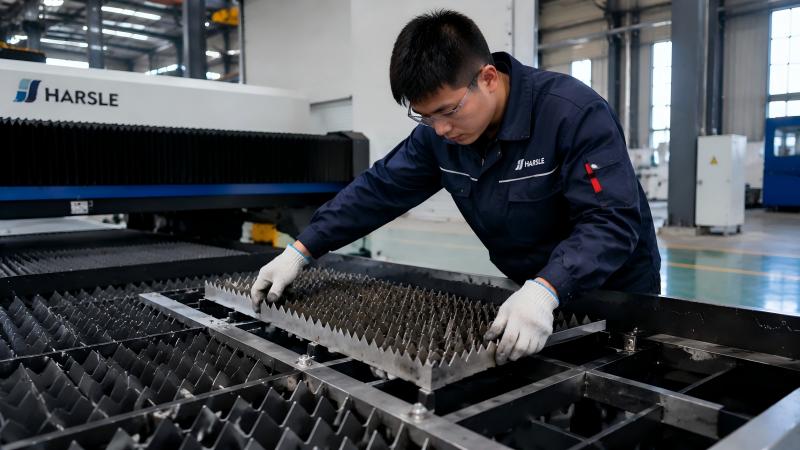
While cleaning, inspect the bed supports, honeycomb grids, or slats for wear or damage. Replace any warped or damaged components to maintain a flat and stable cutting surface.
Step 5: Reassemble and Test
After cleaning and inspection, carefully reassemble the bed components. Run a short test cut on scrap material to verify that the bed is correctly positioned and that the laser cuts cleanly and accurately.
Best Practices for Ongoing Laser Cutting Bed Maintenance
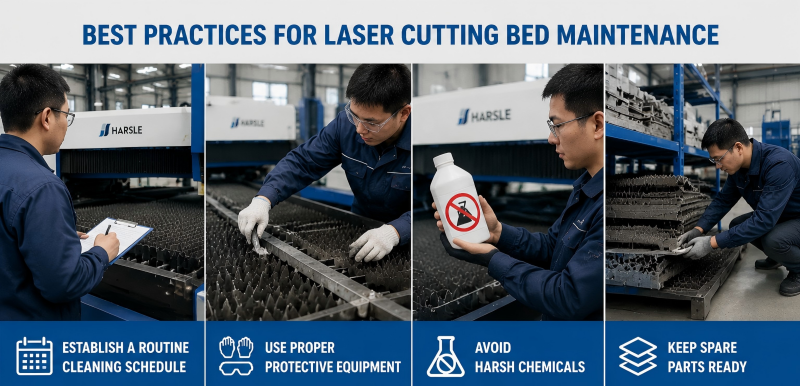
Establish a Routine Cleaning Schedule
Set a daily or weekly schedule depending on your production volume. High-frequency cutting operations may require daily cleaning, while lower-volume operations may only need weekly attention.
Use Proper Protective Equipment
Wear gloves and eye protection when handling debris or chemical cleaners. This ensures personal safety while maintaining a clean work environment.
Avoid Harsh Chemicals
Never use strong acids or abrasive cleaners, as these can corrode the bed surface or damage the laser system’s sensitive components.
Keep Spare Parts Ready
Maintain a supply of replacement honeycomb grids or slats. This allows for quick swaps if a component becomes worn or damaged, minimizing downtime.
FAQs
How often should I clean my laser cutting bed?
Cleaning frequency depends on usage. For high-volume operations, daily cleaning is recommended. For lower-volume or light-duty cutting, weekly cleaning may suffice.
Can I use compressed air to clean the bed?
It is not recommended, as compressed air can scatter fine particles into optics and other sensitive areas, potentially affecting laser performance.
What is the best cleaner for stubborn residue?
Use a mild, non-abrasive cleaner applied with a lint-free cloth. Avoid harsh chemicals or abrasive materials that can damage the bed surface.
Abschluss
Richtig Laser Cutting Bed Cleaning is essential for maintaining cutting precision, improving safety, and extending the life of your laser cutting system. By following a systematic cleaning routine, inspecting bed components, and using safe cleaning materials, you can ensure reliable and high-quality operation. For further guidance or technical support, contact our team to optimize your laser cutting maintenance processes.


