


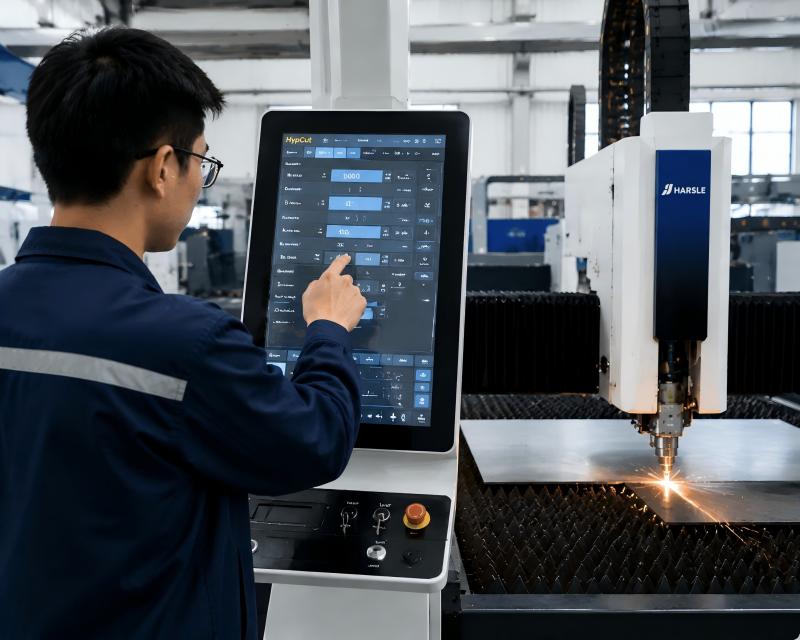
آلة القطع بالليزر Burrs are one of the most common quality issues in sheet metal fabrication. If you notice rough edges, excess slag, or metal protrusions on your cut parts, you’re likely dealing with burr formation. The good news is that most burr problems can be identified and corrected quickly by adjusting machine parameters, inspecting consumables, and optimizing cutting conditions. In this article, I’ll explain the most common causes of burrs, how to diagnose them efficiently, and the practical steps I use to restore clean, smooth cutting edges and maintain consistent production quality.
What Causes Laser Cutting Machine Burrs?

Before fixing the problem, I always identify the root cause. Burrs are usually a sign that the laser beam, assist gas, material condition, or machine settings are not working together properly.
Incorrect Laser Power Settings
If the laser power is too low, the material may not melt completely. Unmelted metal remains attached to the cut edge and forms burrs.
On the other hand, excessive power can overheat the material, creating excessive molten metal that solidifies along the edge.
Improper Cutting Speed

Cutting speed has a direct influence on edge quality.
When the speed is too slow, excess heat accumulates and creates slag. When the speed is too fast, the laser cannot fully penetrate the material, leaving rough edges and burrs.
Incorrect Focus Position
The laser focus determines where maximum energy density is concentrated.
A focus point positioned too high or too low reduces cutting efficiency and prevents molten material from being properly expelled from the kerf.
Assist Gas Problems
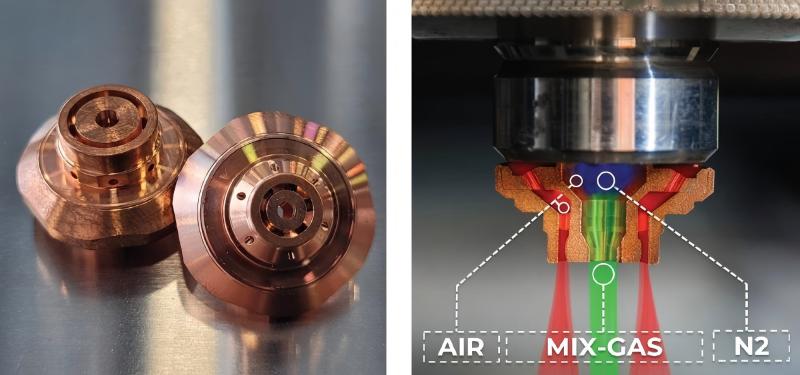
Assist gas plays a critical role in removing molten metal.
تشمل المشكلات الشائعة ما يلي:
- Insufficient gas pressure
- Contaminated gas supply
- Incorrect gas type selection
- Blocked gas nozzles
These problems often lead directly to Laser Cutting Machine Burrs.
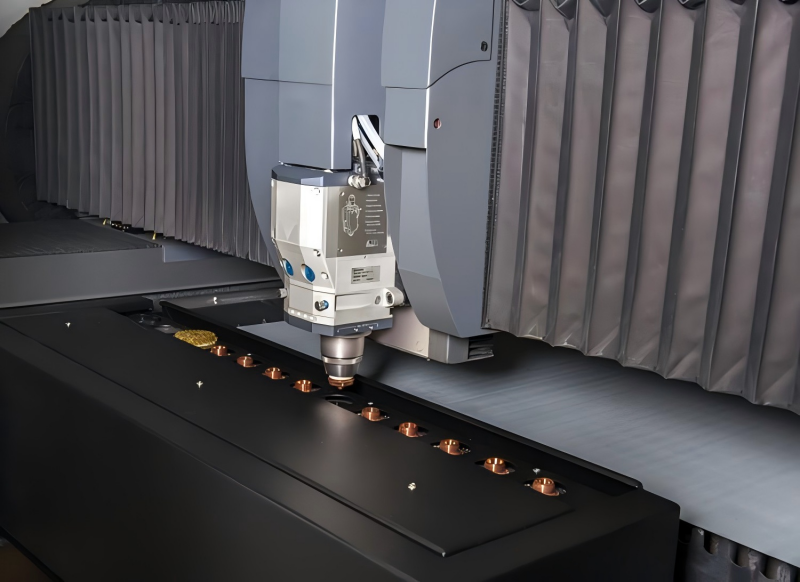
Worn Nozzle or Protective Lens
Damaged consumables affect beam quality and gas flow.
A worn nozzle can disrupt assist gas distribution, while a contaminated protective lens reduces laser power transmission.
How to Diagnose Laser Cutting Machine Burrs
Step 1: Inspect the Burr Location
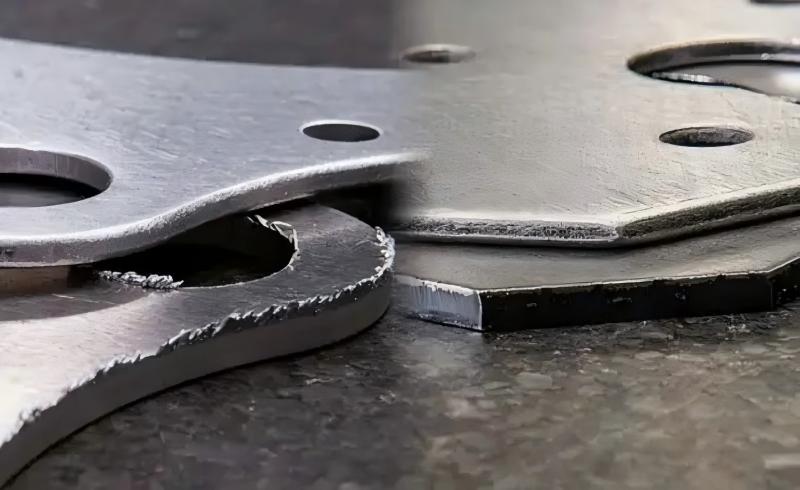
I first examine where the burr appears.
- Burrs on the bottom edge often indicate insufficient power or excessive speed.
- Burrs on both sides may suggest focus issues.
- Heavy slag accumulation typically points to gas pressure problems.
The burr pattern often reveals the root cause immediately.
Step 2: Check Cutting Parameters
Review the machine settings and compare them with recommended parameters.
Pay attention to:
- Laser power
- سرعة القطع
- Focus position
- ضغط الغاز
- تردد النبض
Even small deviations can affect edge quality.
Step 3: Examine Nozzle Condition
Remove and inspect the nozzle carefully.
بحث:
- Damage
- Deformation
- Carbon deposits
- Blockages
Replacing an inexpensive nozzle often solves burr problems quickly.
Step 4: Inspect the Protective Lens
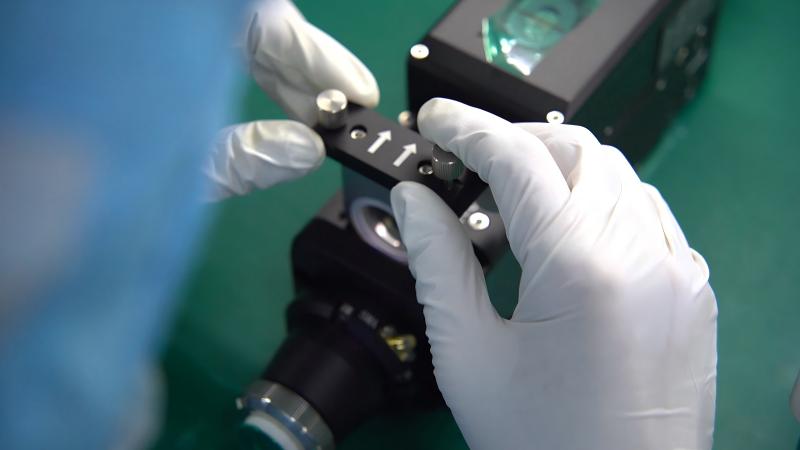
A dirty lens reduces beam quality and cutting efficiency.
I always check for:
- Dust contamination
- Burn marks
- Scratches
- Coating damage
Clean or replace the lens if necessary.
Step 5: Verify Material Quality
Material quality also affects cutting results.
تحقق من:
- Rust
- التلوث النفطي
- Surface oxidation
- Excessive thickness variation
Poor material condition often contributes to Laser Cutting Machine Burrs.
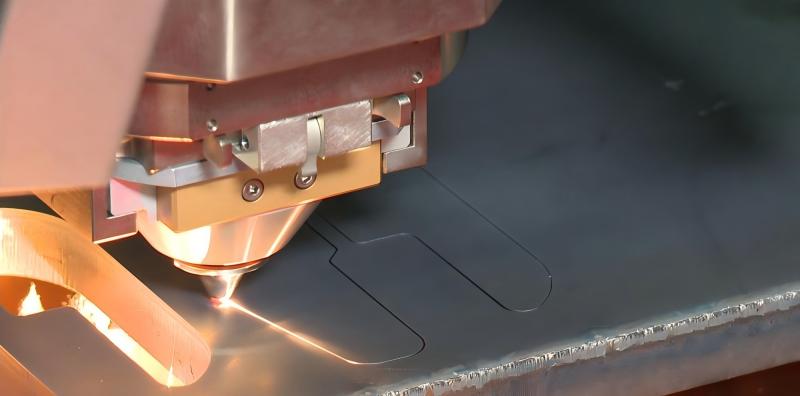
Step-by-Step Solutions to Eliminate Burrs
Step 1: Optimize Laser Power
Adjust power gradually while monitoring edge quality.
For thicker materials, slightly increasing power can improve melt removal and reduce burr formation.
Step 2: Adjust Cutting Speed
Perform test cuts at different speeds.
I typically adjust speed in small increments until I find the optimal balance between penetration and edge quality.
Step 3: Recalibrate Focus Position
Use the machine’s focus calibration procedure to ensure the focal point matches the material thickness.
Correct focus positioning often produces immediate improvements.
Step 4: Increase Gas Pressure
If molten metal is not being expelled efficiently, increase assist gas pressure within the manufacturer’s recommended range.
For stainless steel cutting, nitrogen pressure is particularly important for achieving burr-free edges.
Step 5: Replace Worn Consumables
Regular replacement of nozzles and protective lenses ensures stable cutting performance.
Preventive replacement is often more cost-effective than dealing with production defects.
Preventive Maintenance Tips for Burr-Free Cutting

Daily Inspection Routine
Before production starts, I recommend checking:
- Nozzle condition
- Lens cleanliness
- Gas supply
- Cooling system status
These simple inspections help prevent unexpected quality issues.
Maintain Clean Optics
Laser optics should be cleaned regularly using approved cleaning materials.
Dirty optics reduce beam quality and increase the likelihood of burr formation.
Calibrate the Machine Periodically
Routine calibration ensures:
- Accurate focus positioning
- Stable beam alignment
- Consistent cutting performance
This significantly reduces Laser Cutting Machine Burrs over time.
Use Quality Materials
High-quality sheet metal produces more consistent cutting results.
Avoid heavily rusted or contaminated materials whenever possible.
الأسئلة الشائعة
What is the most common cause of Laser Cutting Machine Burrs?
Improper cutting parameters, particularly incorrect cutting speed, laser power, and focus position, are the most common causes of burr formation.
Can assist gas pressure affect Laser Cutting Machine Burrs?
Yes. Insufficient gas pressure prevents molten metal from being fully removed from the cut, resulting in burrs and rough edges.
How often should I replace laser cutting nozzles?
The replacement interval depends on usage conditions, but regular inspection is recommended. Replace nozzles immediately if they show signs of wear, deformation, or blockage.
خاتمة
آلة القطع بالليزر Burrs can significantly affect product quality, increase secondary processing costs, and reduce production efficiency. Fortunately, most burr problems can be resolved quickly by checking cutting parameters, inspecting consumables, verifying assist gas performance, and maintaining proper machine calibration.
By following the troubleshooting steps and preventive maintenance practices outlined in this guide, you can consistently achieve clean, smooth cut edges and improve overall productivity. If you’re still experiencing burr-related issues, contact our technical team for professional support and customized cutting parameter recommendations.


