


Learn electric press brake operation from startup and programming to 2D simulation, automatic bending, angle compensation, and correct machine shutdown.
Wstęp
Correct electric press brake operation begins before the first bending cycle. Operators need to verify the incoming power supply, check the phase sequence, start the control system correctly, complete axis referencing, create the bending program, and confirm that the programmed bending sequence is safe before production.
Modern electric press brakes can also provide graphical programming, bending simulation, collision detection, and angle compensation functions. Understanding these functions helps operators reduce setup errors and achieve more consistent bending results.
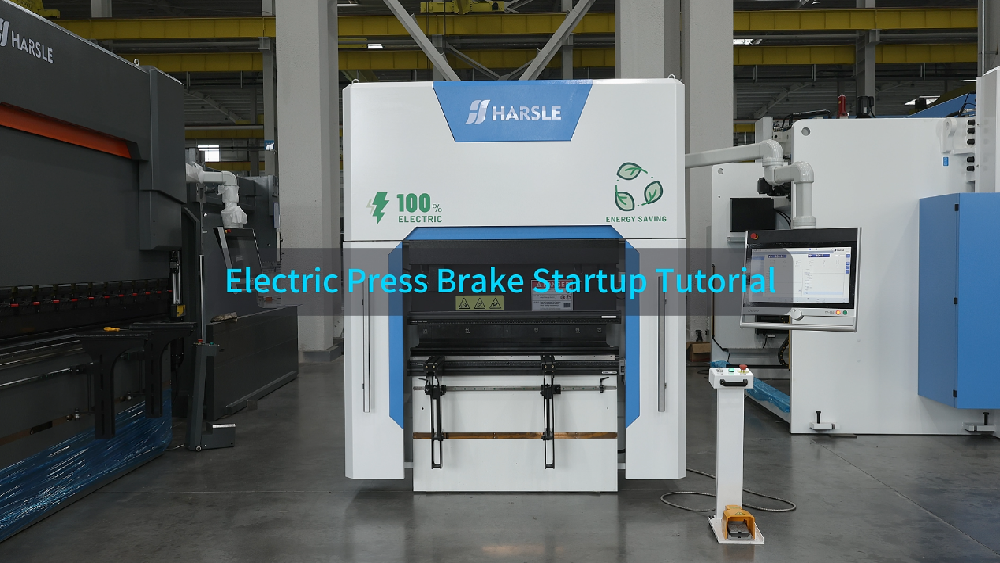
This guide explains the complete operating workflow demonstrated in the HARSLE electric press brake tutorial, including electrical preparation, machine startup, basic and graphical programming, automatic bending, angle compensation, and shutdown.
Notatka: The operating procedures, indicator lights, interface functions, and safety devices described below are based on the machine configuration demonstrated in the video. Actual procedures may vary depending on the machine model and control system.
What Is Electric Press Brake Operation?
Electric press brake operation refers to the complete process of preparing, programming, running, adjusting, and shutting down a servo-electric press brake.
Unlike conventional hydraulic press brakes, electric press brakes use an electric servo drive system to control ram movement. However, accurate bending still depends on correct machine preparation, tooling selection, material parameters, backgauge positioning, and bending program settings.
For operators, learning the correct operating sequence is therefore just as important as understanding the CNC controller itself.
Zanim zaczniesz
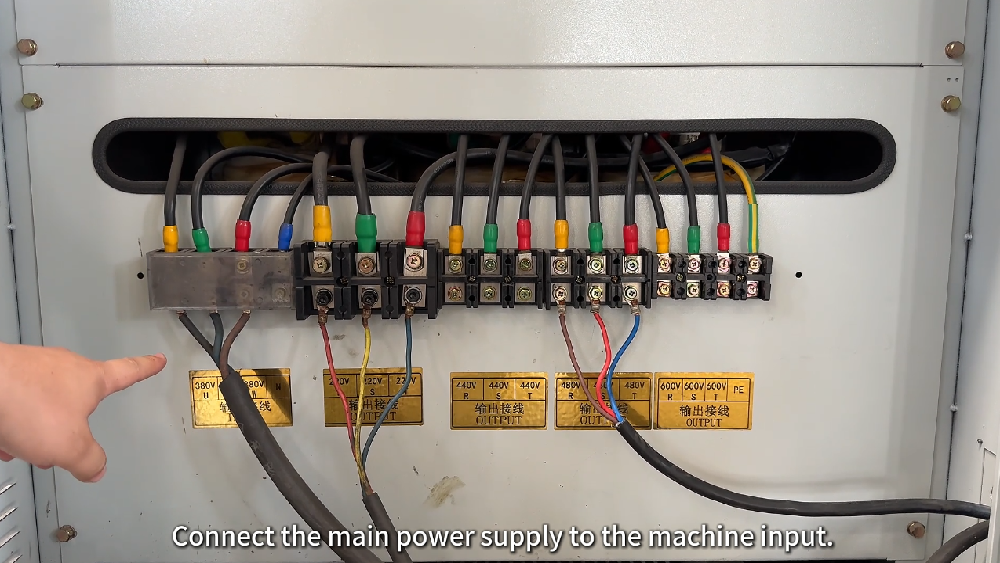
Before starting the machine, connect the main power supply to the machine input and confirm that the supply voltage matches the electrical requirements of the equipment.
The incoming power should then be connected correctly to the terminals inside the electrical cabinet. Electrical connection and phase adjustment should only be performed by qualified personnel.
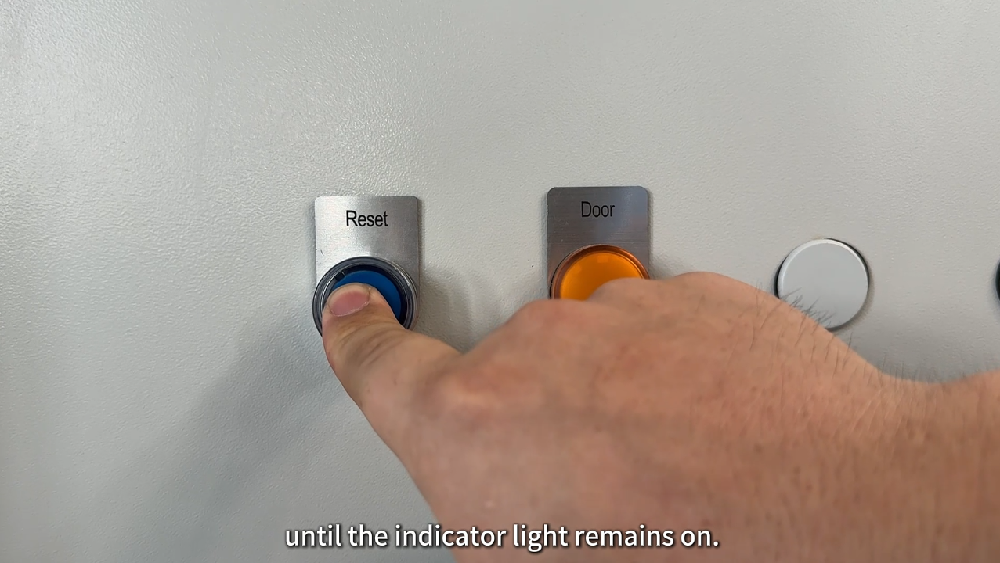
If the demonstrated machine is equipped with a safety reset button, press and hold it for more than two seconds until the indicator light remains on.
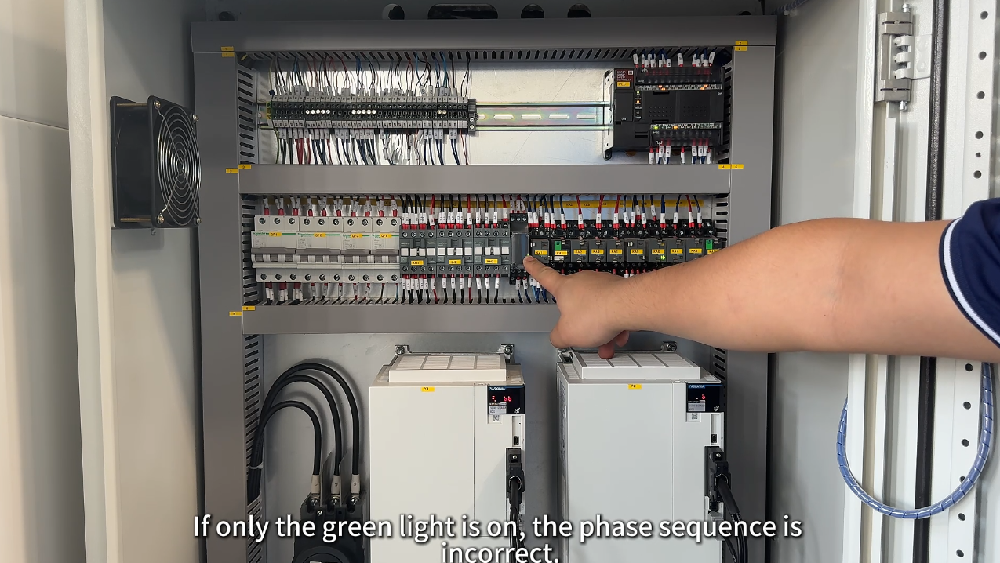
After energizing the machine, check the phase sequence indicator. On the configuration shown in the video, a yellow light indicates the correct phase sequence. If only the green light is illuminated, the phase sequence is incorrect and any two phase wires need to be exchanged by qualified electrical personnel.
Electric Press Brake Operation Workflow
Stage 1: Start the Machine and Complete Referencing
Turn on the main power switch and allow the control system to initialize completely.
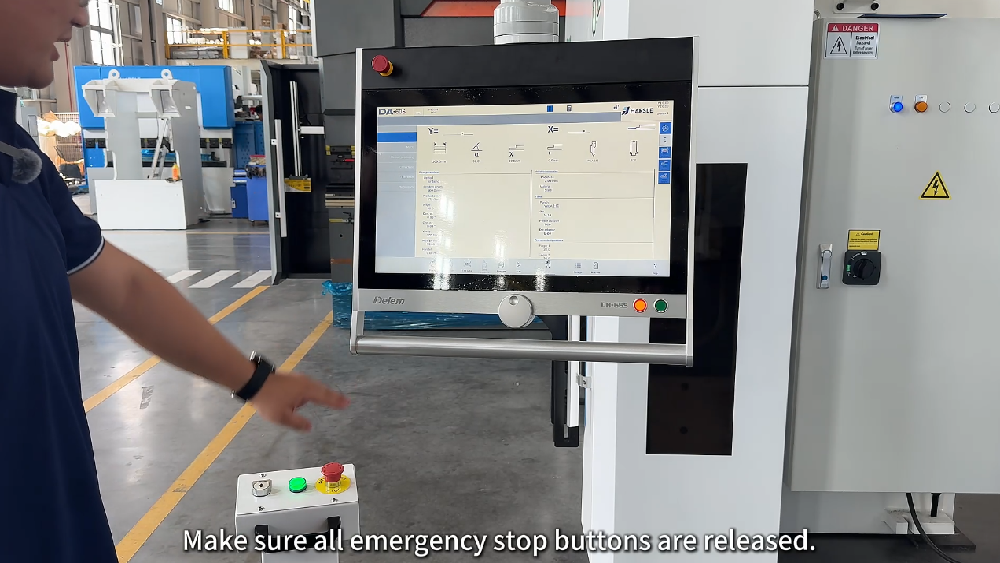
Before starting the machine, check all emergency stop buttons and make sure they have been released. On the demonstrated machine, the emergency stop button can be released by rotating it clockwise.
Start the system and press the green Start button on the control panel. The machine will begin the automatic referencing procedure.
Wait until all axes have completed referencing before creating or running a bending program. Referencing establishes the required axis positions for subsequent machine movements and positioning.
Stage 2: Create a Basic Bending Program
After referencing is complete, enter the Product screen and select Nowy program.
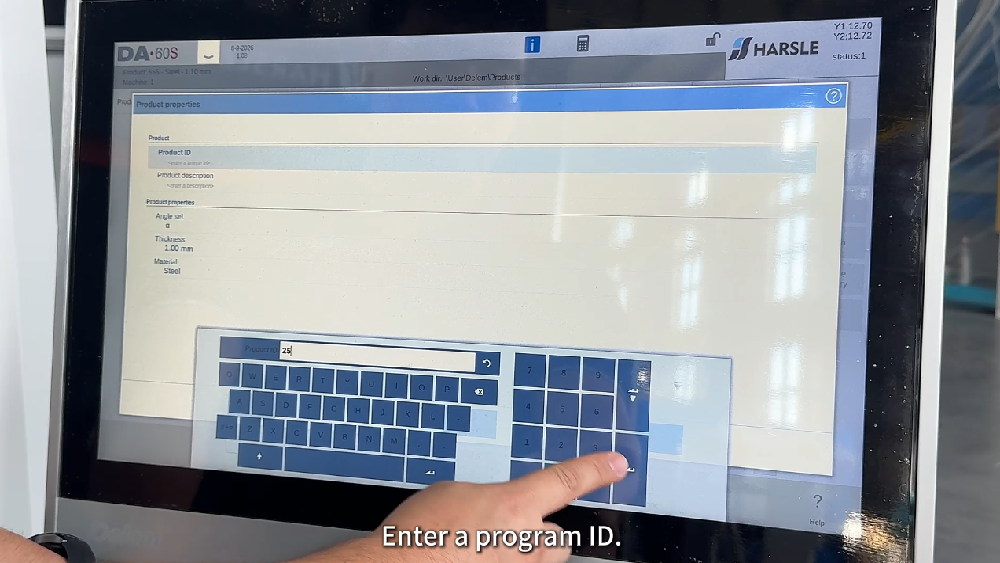
Enter a program ID and set the plate thickness and workpiece material. Confirm the information by selecting Przyjąć, and then proceed to the tooling configuration.
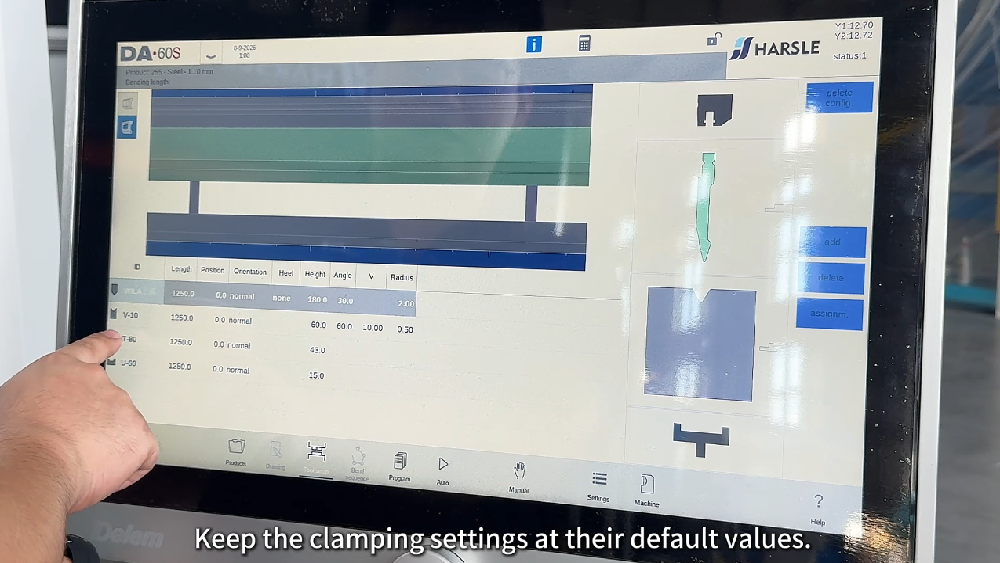
Select the punch and die that match the tooling currently installed on the machine. In the demonstrated operation, the clamping settings remain at their default values.
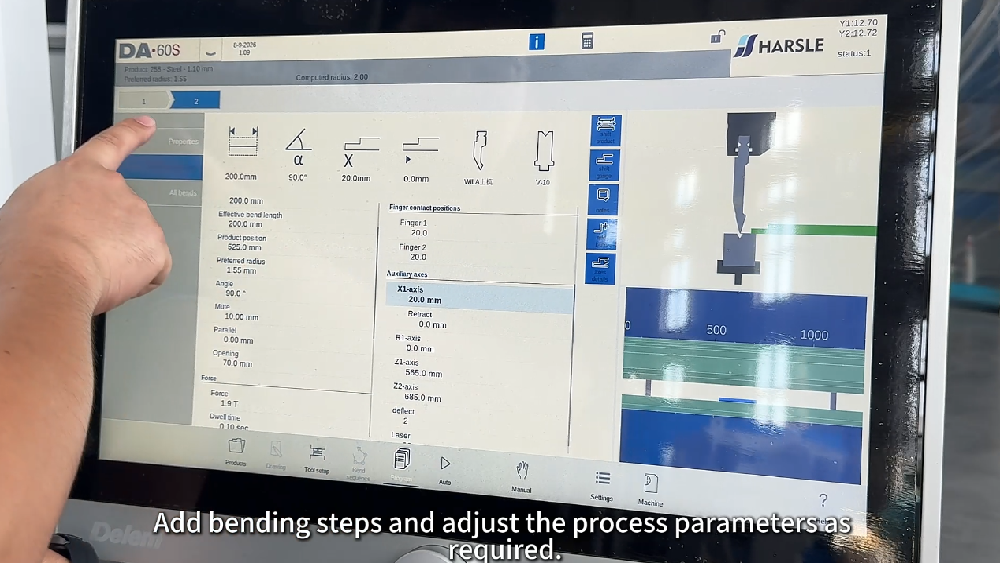
Next, enter the Program screen and input the required bending parameters, including:
- Target bending angle
- Długość gięcia
- Backgauge position
Additional bending steps can be created when a workpiece requires multiple bends. Adjust the required process parameters for each step and return to the first bending step after programming is complete.
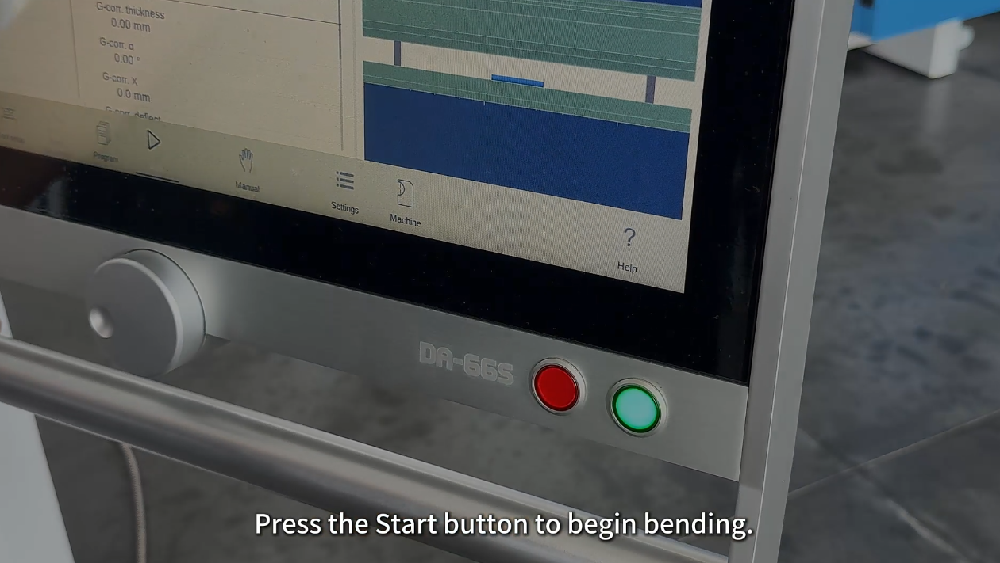
Switch the machine to Automatic Mode and press the Start button to begin bending.
Stage 3: Create a 2D Graphical Program
In addition to basic numerical programming, the demonstrated system supports graphical programming.
Wybierać Nowy rysunek, enter the product ID, and specify the plate length and material before saving the product information.
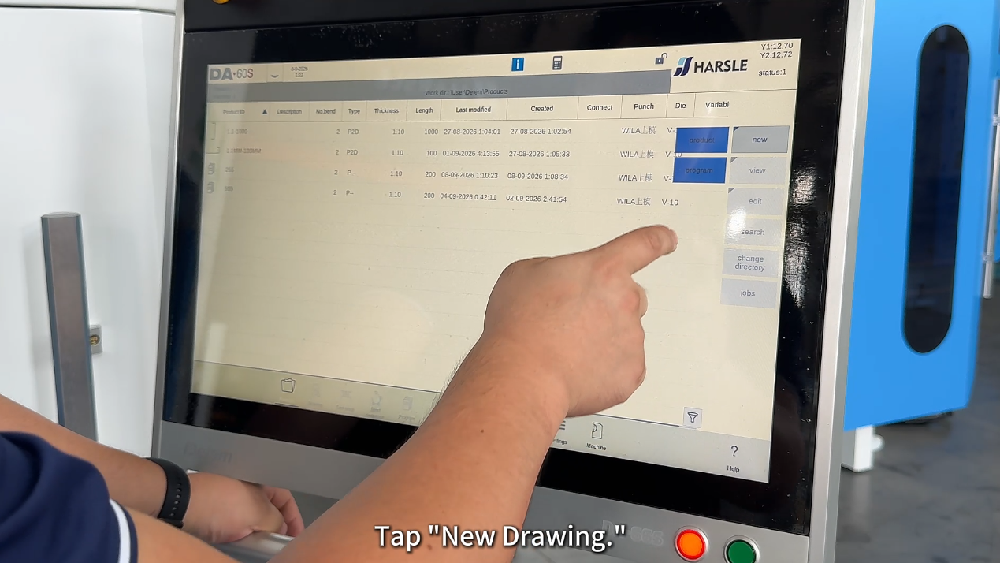
Create the workpiece profile using the reference points on the graphical interface. Individual line segments can be selected to modify their dimensions, while corners can be selected to define the required bending angles.
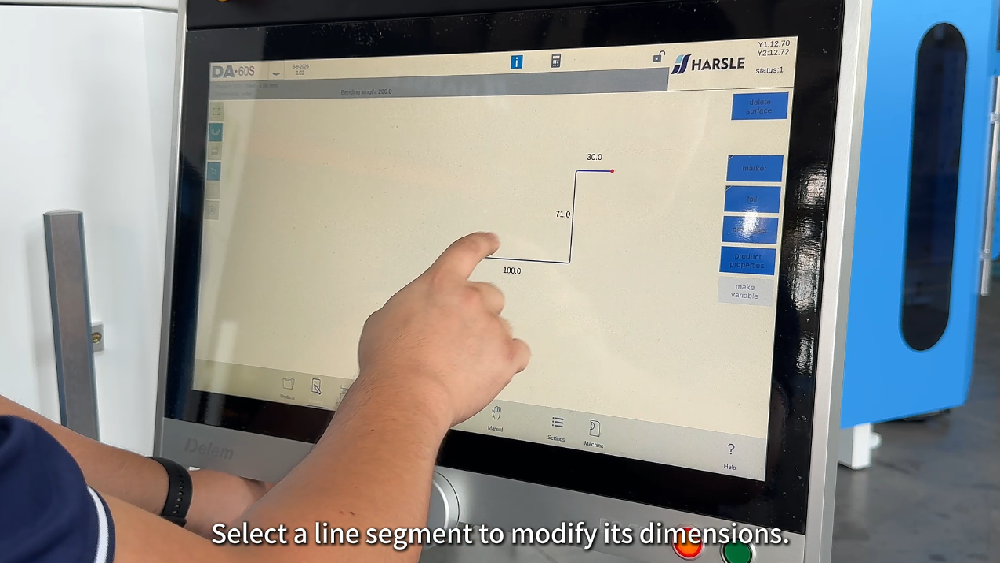
Continue until the complete 2D workpiece profile has been created.
After drawing the profile, enter Konfiguracja narzędzia and select the punch and die that correspond to the tooling physically installed on the machine. Correct tooling selection is important because the system uses this information when calculating and simulating the bending process.
Stage 4: Check the Bending Simulation
After the workpiece and tooling have been configured, enter the bending simulation interface.
The system can generate the bending sequence, while the operator can manually adjust the order of the bending steps when necessary.
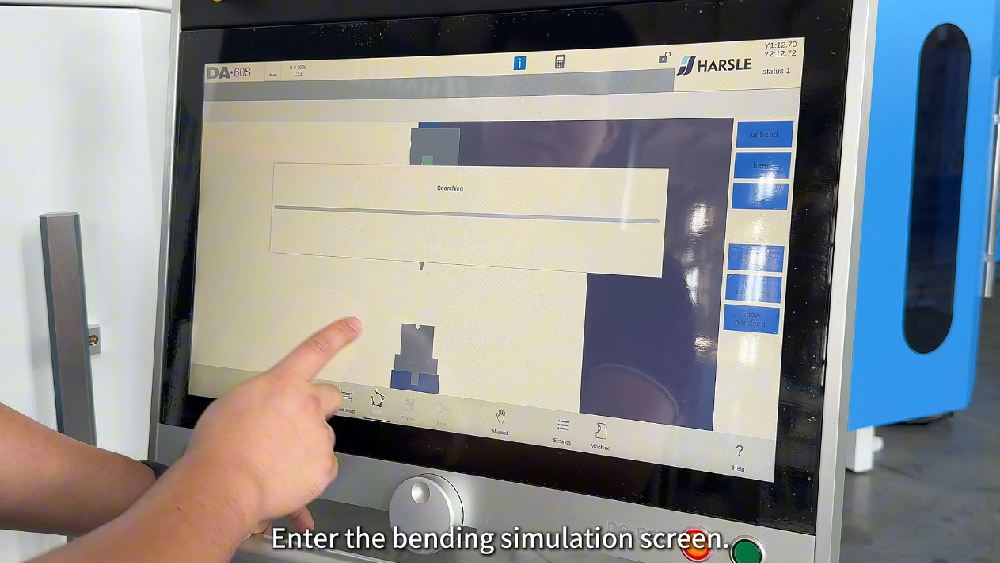
If the system displays an error during simulation, the programmed sequence may contain a collision or interference. According to the workflow demonstrated in the video, the operator can try flipping the workpiece or changing the bending sequence to resolve the interference.
When all bending steps are displayed in green, the simulation indicates that no interference has been detected for the programmed sequence.
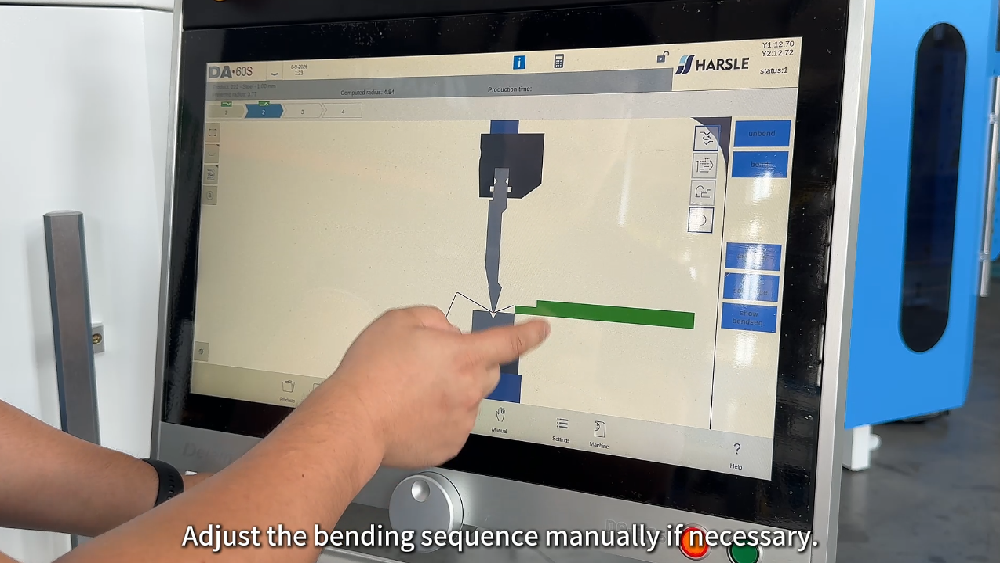
Simulation is a useful verification tool, but operators should still confirm the actual tooling, workpiece orientation, and machine conditions before starting production.
Stage 5: Run the Automatic Bending Program
After confirming the bending sequence, enter the Program screen again and review the process parameters.
The parameters can be fine-tuned when necessary. For normal operating conditions demonstrated in the tutorial, additional adjustment is generally not required once the program has been configured correctly.
Przełącz na Automatic Mode i wybierz Uruchomić to begin bending.
During operation, the control system displays the graphical simulation together with the bending process. Follow the on-screen instructions and complete each bending step in the required sequence.
Operators should continue monitoring the workpiece, tooling, and machine movement throughout the process rather than relying solely on the graphical display.
Angle Compensation
Angle deviation may occasionally occur between the programmed bending angle and the actual measured angle of the finished workpiece.
The demonstrated control system provides angle compensation directly from the main interface.
Two types of compensation are available:
Step Compensation applies an adjustment to an individual bending step. This is useful when only one particular bend requires correction.
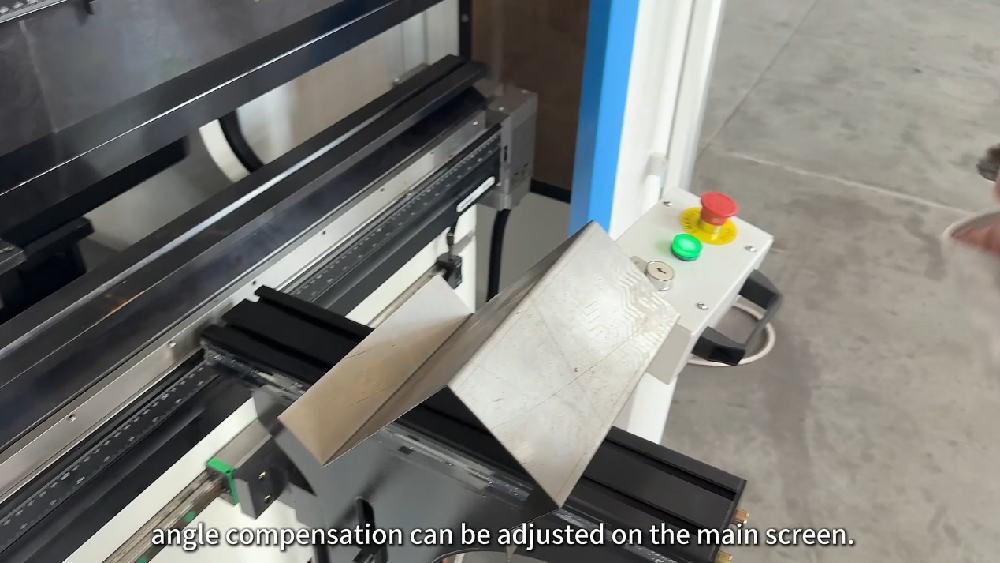
Global Compensation applies the correction across the entire program and can be used when a consistent deviation affects multiple bending steps.
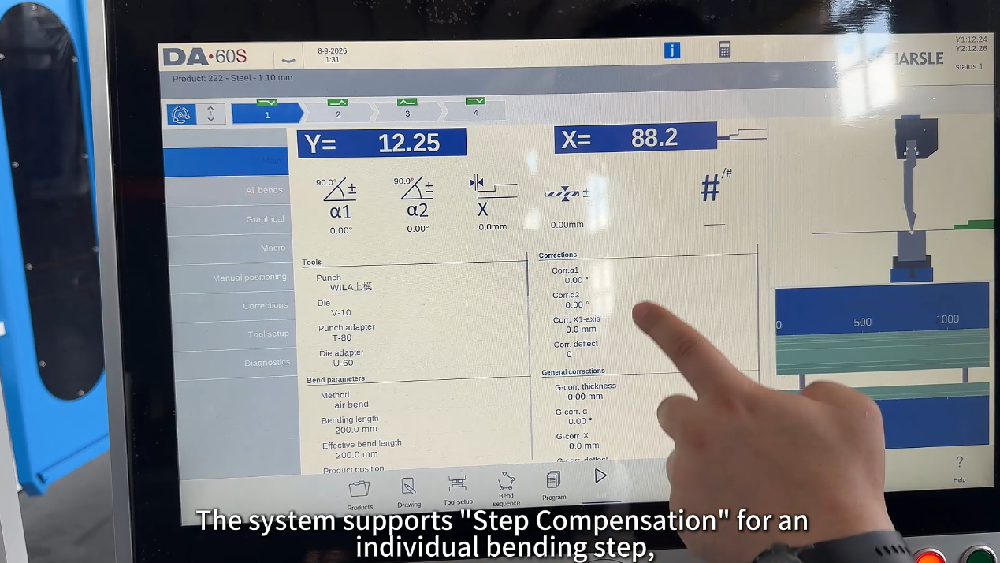
After making a compensation adjustment, perform another trial bend and measure the actual result before continuing with batch production. Avoid making excessive corrections at once, as gradual adjustment makes it easier to evaluate the effect of each change.
Correct Machine Shutdown
Correct shutdown is also an important part of electric press brake operation.
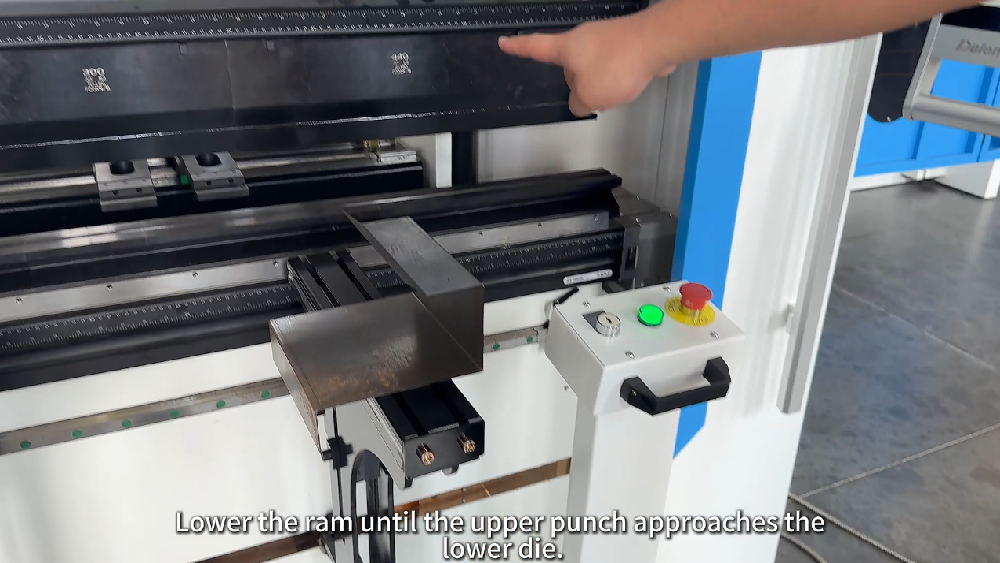
According to the procedure demonstrated in the video, while the machine is operating, use the foot pedal to lower the ram until the upper punch approaches the lower die. Release the foot pedal when the tooling reaches the specified safety clearance.
Then press the emergency stop button, go to the electrical cabinet, and switch off the main power supply.
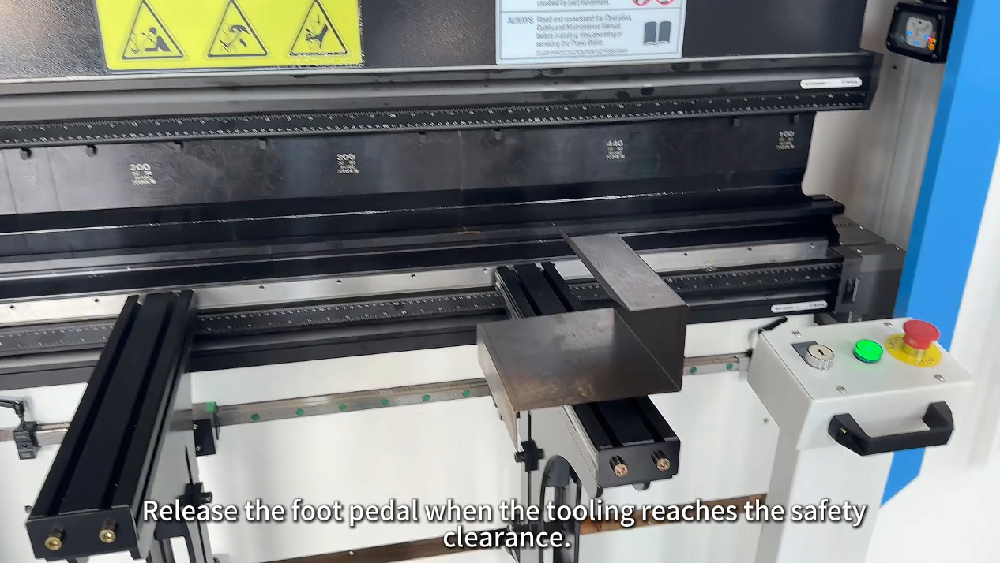
The machine is completely powered off after the main power switch has been turned off.
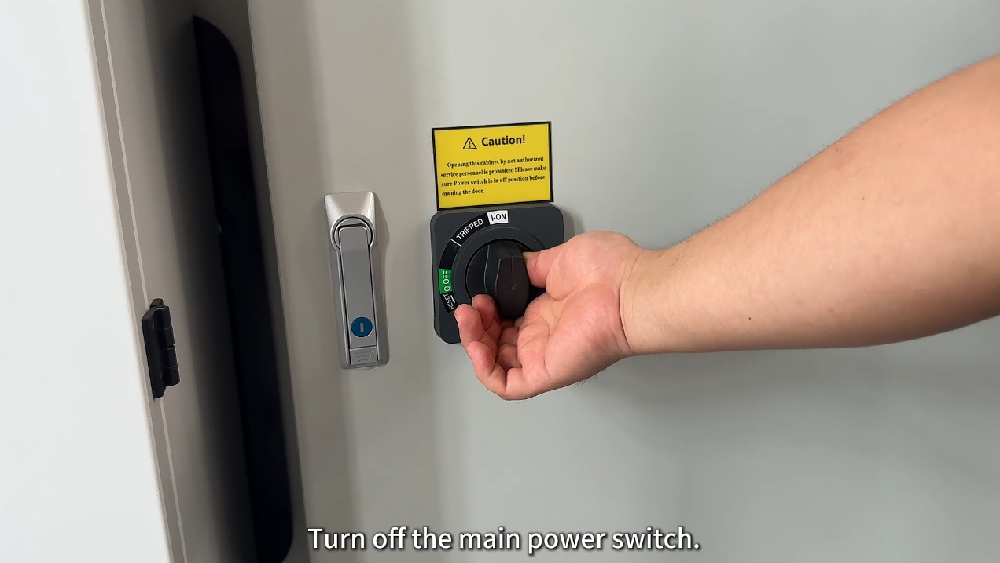
Because shutdown and tooling-position requirements can vary between machine configurations, always follow the operating instructions supplied with the specific machine.
Ważne uwagi
The procedures described in this tutorial apply to the HARSLE electric press brake configuration demonstrated in the accompanying video. Different electric press brakes may use different servo systems, controllers, electrical configurations, safety devices, and operating interfaces.
In particular, phase sequence indicator colors, safety reset procedures, referencing behavior, graphical programming functions, and shutdown requirements should not automatically be applied to another machine.
Electrical wiring or phase adjustment should be performed by qualified personnel. If the machine displays an abnormal alarm, unexpected axis movement, or safety-related fault, stop operation and identify the cause before continuing.
Tips for More Efficient Electric Press Brake Operation
A standardized operating routine can improve both programming efficiency and bending consistency.
- Verify the material and plate thickness before creating the program.
- Make sure the selected CNC tooling matches the tooling actually installed on the machine.
- Complete axis referencing before production.
- Use graphical simulation to check the bending sequence before processing complex parts.
- Resolve any detected interference before entering Automatic Mode.
- Perform a trial bend before batch production.
- Measure the actual angle before applying angle compensation.
- Use Step Compensation for individual bends and Global Compensation only when the overall program requires correction.
- Follow the specified shutdown sequence after completing production.
These checks can reduce unnecessary program adjustments and help operators establish a more consistent daily workflow.
Wniosek
Correct electric press brake operation covers much more than starting the machine and performing a bend. Electrical preparation, phase sequence verification, axis referencing, tooling configuration, program creation, graphical simulation, automatic bending, angle compensation, and proper shutdown all contribute to reliable operation.
For complex workpieces, the 2D graphical programming and simulation functions provide an additional way to verify the bending sequence and identify possible interference before production. Angle compensation can then be used when the actual bending result requires further correction.
The procedures in this tutorial provide a practical operating reference for the demonstrated HARSLE electric press brake. Always combine the video instructions with the machine-specific operating manual and technical requirements when working with a different configuration.


