


Laser Cutting Slag Problem is one of the most common quality issues encountered in laser cutting operations. If you notice excessive slag sticking to the bottom edge of your workpiece, poor cut quality, or increased post-processing time, you’re not alone. In my experience, slag formation is usually caused by incorrect cutting parameters, improper assist gas settings, nozzle issues, or optical component contamination. In this guide, I’ll explain the most common causes of laser cutting slag problems and provide practical troubleshooting steps to help you restore clean, precise cuts and improve production efficiency.
Understanding the Laser Cutting Slag Problem
What Is Slag in Laser Cutting?
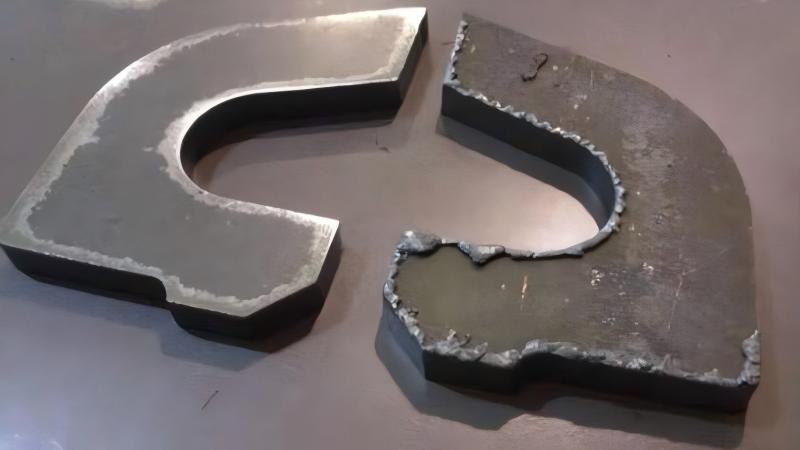
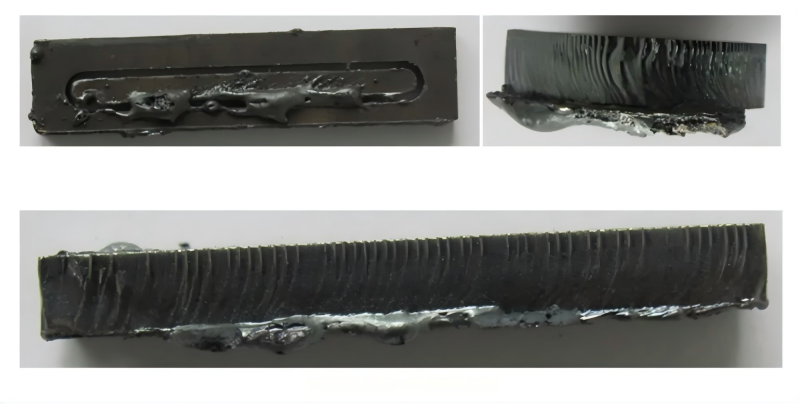
Slag refers to molten metal that fails to be completely expelled from the kerf during the cutting process. Instead of being blown away by the assist gas, it solidifies and sticks to the bottom edge of the workpiece.
Common characteristics include:
- Rough bottom edges
- Excessive dross buildup
- Difficult post-processing
- Reduced part quality
Understanding the type and appearance of slag can help identify the root cause more quickly.
Why Slag Formation Matters
Ignoring a laser cutting slag problem can lead to:
- Increased production costs
- Longer finishing times
- Reduced dimensional accuracy
- Poor customer satisfaction
- Lower overall productivity
Early troubleshooting helps maintain consistent cutting quality.
Common Causes of Laser Cutting Slag Problem
Incorrect Cutting Speed

Cutting speed has a direct impact on slag formation.
If the speed is too slow:
- Excessive heat accumulates
- More molten material forms
- Slag increases significantly
If the speed is too fast:
- The laser may fail to fully penetrate the material
- Molten metal cannot be properly ejected
- Incomplete cuts and slag occur
Finding the optimal speed is essential.
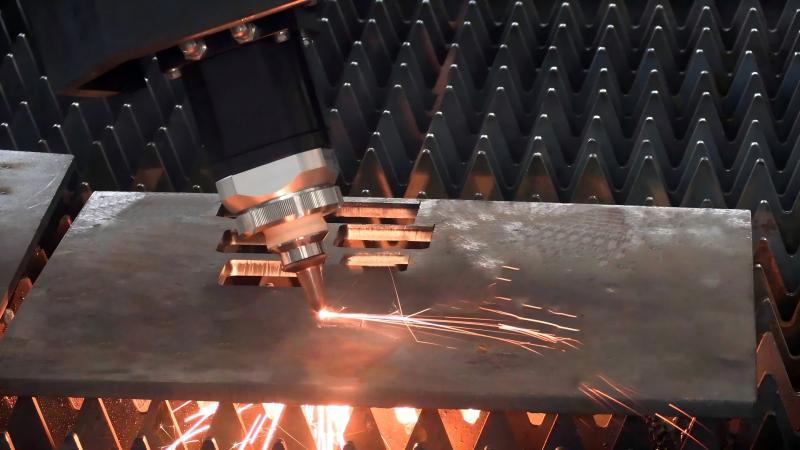
Improper Assist Gas Pressure
Assist gas removes molten metal from the cutting zone.
Common gas-related issues include:
- Low gas pressure
- Unstable gas flow
- Gas contamination
- Incorrect gas selection
Insufficient gas pressure is one of the leading causes of slag buildup.
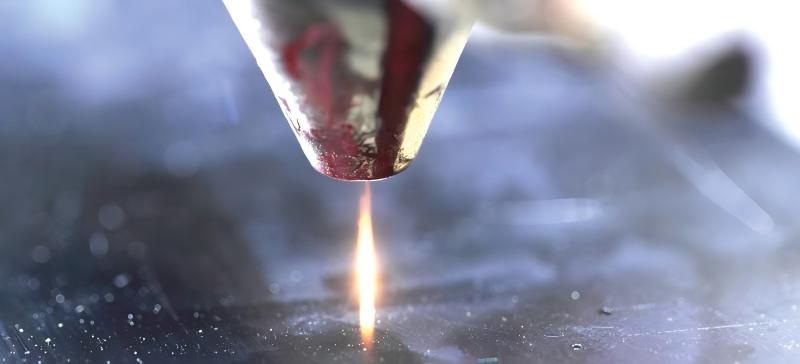
Incorrect Focus Position
The focal point determines where the laser energy is concentrated.
A poor focus setting can cause:
- Incomplete melting
- Wider kerf widths
- Excessive dross
- Reduced cutting efficiency
Regular focus calibration helps prevent these issues.
Nozzle Damage or Contamination
The nozzle directs assist gas into the cutting area.
A damaged nozzle may cause:
- Uneven gas distribution
- Turbulent airflow
- Reduced slag removal efficiency
- Poor cut quality
Even small nozzle defects can create significant cutting problems.
Dirty Protective Lens
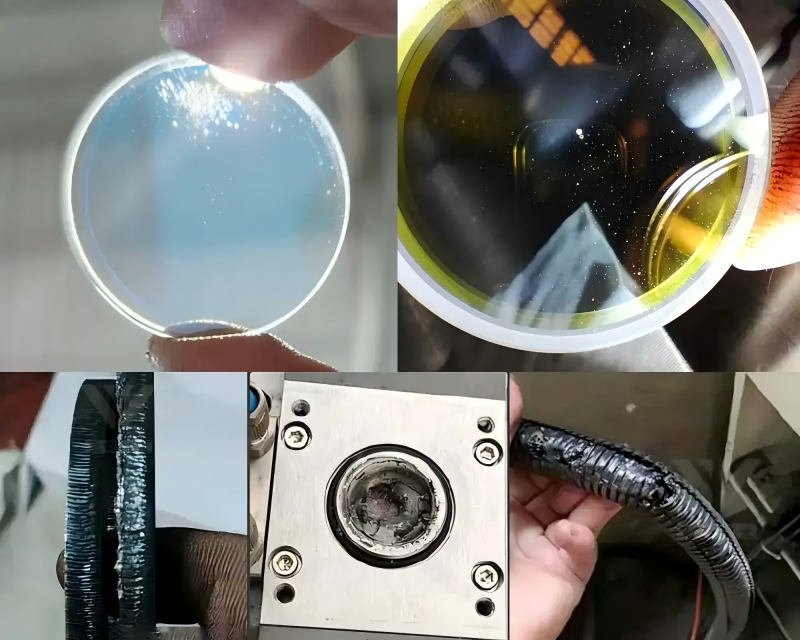
A contaminated protective lens reduces laser energy transmission.
Common symptoms include:
- Reduced cutting power
- Excessive slag
- Rough edges
- Increased heat accumulation
Routine lens cleaning is critical for maintaining cutting performance.
Material Surface Conditions
Rust, oil, coatings, and oxidation can interfere with laser cutting.
Contaminated materials often result in:
- Excessive slag formation
- Poor edge quality
- Unstable cutting performance
Preparing clean materials before cutting improves results.
Step-by-Step Guide to Troubleshoot Laser Cutting Slag Problem
Step 1: Inspect the Slag Characteristics
I always begin by examining the slag.
Ask the following questions:
- Is the slag soft or hard?
- Is it concentrated in specific areas?
- Does it appear consistently across the sheet?
The appearance of the slag often provides valuable clues about the underlying issue.
Step 2: Verify Cutting Parameters
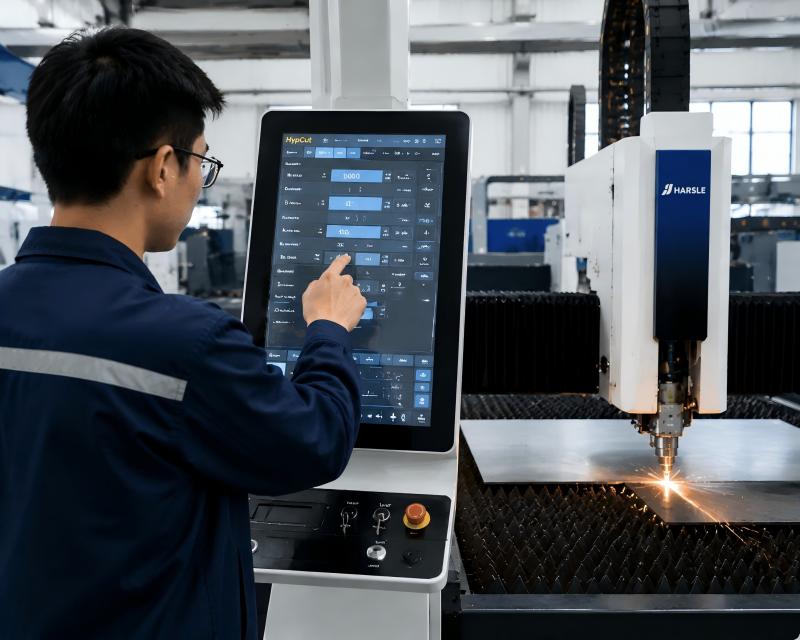
Review the cutting program and compare settings with recommended values.
Check:
- Laser power
- Cutting speed
- Focus position
- Frequency settings
Adjust parameters gradually and test after each change.
Step 3: Check Assist Gas Pressure and Quality
Verify:
- Gas type
- Pressure level
- Flow stability
- Gas purity
For stainless steel, nitrogen purity is especially important for achieving clean cuts.
Step 4: Inspect the Nozzle
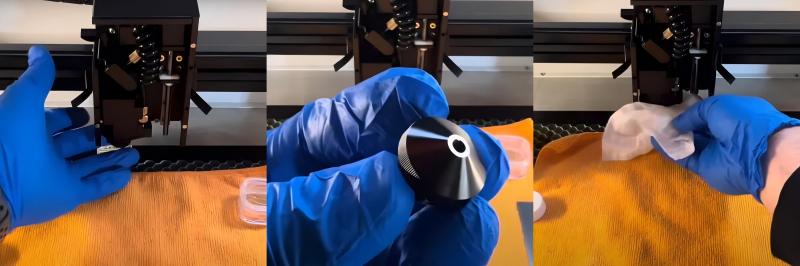
Remove the nozzle and examine it carefully.
Look for:
- Damage
- Spatter buildup
- Misalignment
- Blockages
Replace the nozzle if any abnormalities are found.
Step 5: Clean the Protective Lens
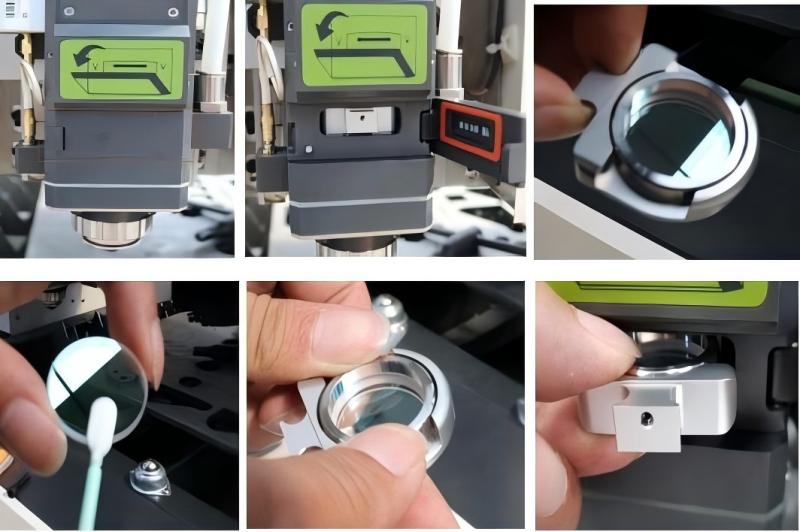
Inspect the protective lens under proper lighting conditions.
Look for:
- Dust
- Smoke residue
- Burn marks
- Scratches
A clean lens ensures maximum laser energy reaches the material.
Step 6: Evaluate Material Quality
Inspect the sheet material before cutting.
Check for:
- Rust
- Oil contamination
- Oxidation
- Surface coatings
Using clean, flat material significantly improves cutting quality.
Preventive Maintenance Tips to Avoid Slag Problems
Perform Daily Machine Inspections
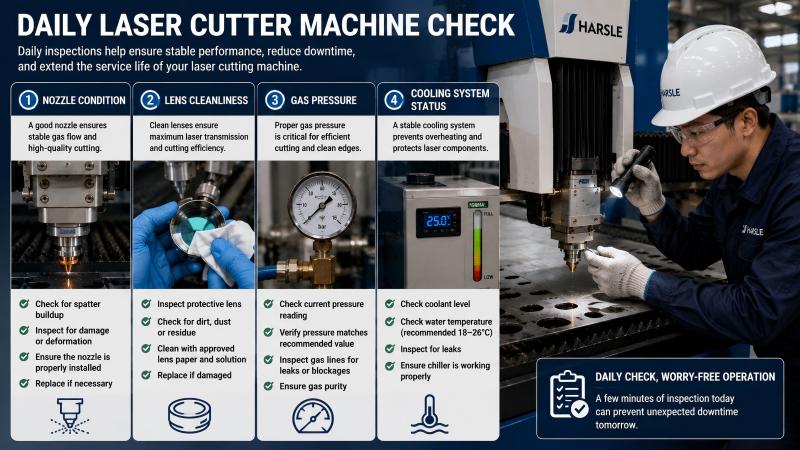
Before production starts, I recommend checking:
- Nozzle condition
- Lens cleanliness
- Gas pressure
- Cooling system operation
Daily inspections help prevent unexpected quality issues.
Maintain Optical Components
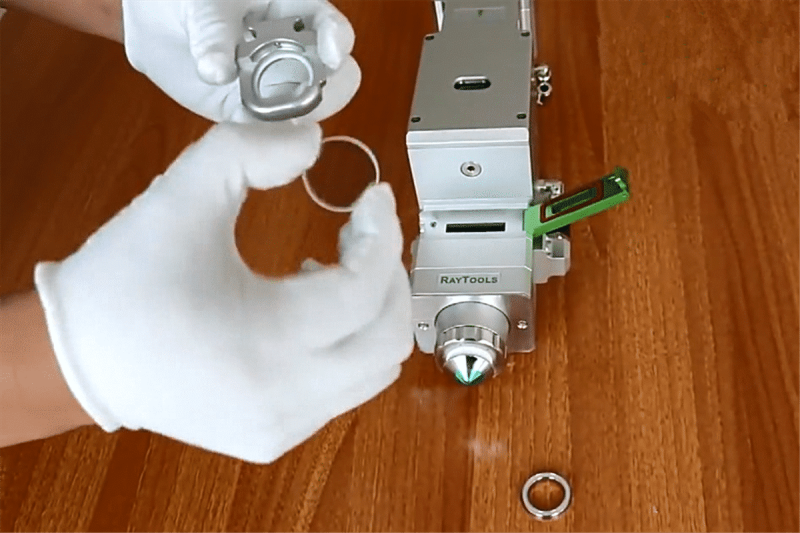
Clean optical components regularly, including:
- Protective lenses
- Focusing lenses
- Laser windows
Well-maintained optics improve cutting efficiency and reduce slag formation.
Monitor Assist Gas Systems
Regularly inspect:
- Gas regulators
- Hoses
- Connectors
- Filters
Stable gas delivery is essential for effective slag removal.
FAQs
What is the main cause of Laser Cutting Slag Problem?
The most common causes are incorrect cutting speed, insufficient assist gas pressure, improper focus position, nozzle damage, and contaminated optical components.
Can low gas pressure cause excessive slag?
Yes. Low assist gas pressure prevents molten metal from being expelled effectively, causing slag to accumulate on the bottom edge of the workpiece.
How often should I inspect the nozzle?
For high-volume production, I recommend inspecting the nozzle daily and replacing it immediately if damage or contamination is detected.
Conclusion
A Laser Cutting Slag Problem is usually a sign that something in the cutting process needs adjustment. Whether the issue is related to cutting parameters, assist gas pressure, focus position, nozzle condition, optical contamination, or material quality, a systematic troubleshooting approach can quickly identify the root cause.
By performing routine inspections, maintaining clean optical components, optimizing cutting parameters, and ensuring stable gas delivery, you can significantly reduce slag formation and achieve cleaner, more precise cuts. If you need additional assistance with laser cutting optimization or troubleshooting, feel free to contact the HARSLE technical team for professional support and expert guidance.


