


Learn how to complete laser enclosure installation correctly with this step-by-step guide. Discover the complete installation workflow, frame assembly, panel installation, door alignment, and final inspection procedures for fiber laser cutting machines.
Introduction
Proper laser enclosure installation is essential for ensuring operator safety, maintaining a clean working environment, and protecting the laser cutting machine during daily operation. Although the enclosure is installed after the main machine has been assembled, its installation quality directly affects equipment safety, accessibility, and long-term reliability.
A laser enclosure is much more than an outer cover. It forms an important part of the machine’s protective system by helping contain laser radiation, reducing dust and smoke leakage, minimizing external contamination, and improving the overall operating environment. Incorrect installation may lead to poor panel alignment, unstable door movement, or maintenance difficulties.
This guide explains the complete laser enclosure installation process, from component preparation and frame assembly to panel installation and final inspection. While the accompanying video demonstrates a typical installation procedure, actual assembly details may vary depending on the machine model and enclosure configuration.
What Is Laser Enclosure Installation?
Laser enclosure installation refers to the process of assembling and securing the protective enclosure surrounding a laser cutting machine.
A complete enclosure normally includes the supporting frame, side panels, front and rear doors, observation windows, top covers, connecting brackets, and fastening components. Once assembled correctly, these components form a fully enclosed protective structure around the cutting area.
Besides improving the machine’s appearance, the enclosure helps isolate dust, smoke, and laser radiation while providing operators with a safer and more organized working environment. For modern fiber laser cutting machines, proper laser enclosure installation has become an important part of the overall machine installation process.
Before You Start
Before beginning laser enclosure installation, inspect all enclosure components carefully to ensure that no parts have been damaged during transportation.
Prepare the required installation tools, fastening hardware, and lifting equipment before starting assembly. If the enclosure contains large panels or heavy structural members, appropriate lifting devices should be used to prevent deformation or accidental damage.
Before installation, verify that the main machine has already been positioned correctly and that sufficient working space is available around the equipment. Keeping all installation parts organized throughout the assembly process can significantly improve efficiency and reduce the possibility of missing components.
Laser Enclosure Installation Workflow
Stage 1: Component Preparation
Begin by identifying and organizing all enclosure components according to the assembly drawing.
Separate structural frames, mounting brackets, panels, doors, windows, fasteners, and accessories before installation begins. Confirm that each component matches the installation requirements and inspect painted surfaces for scratches or transportation damage.
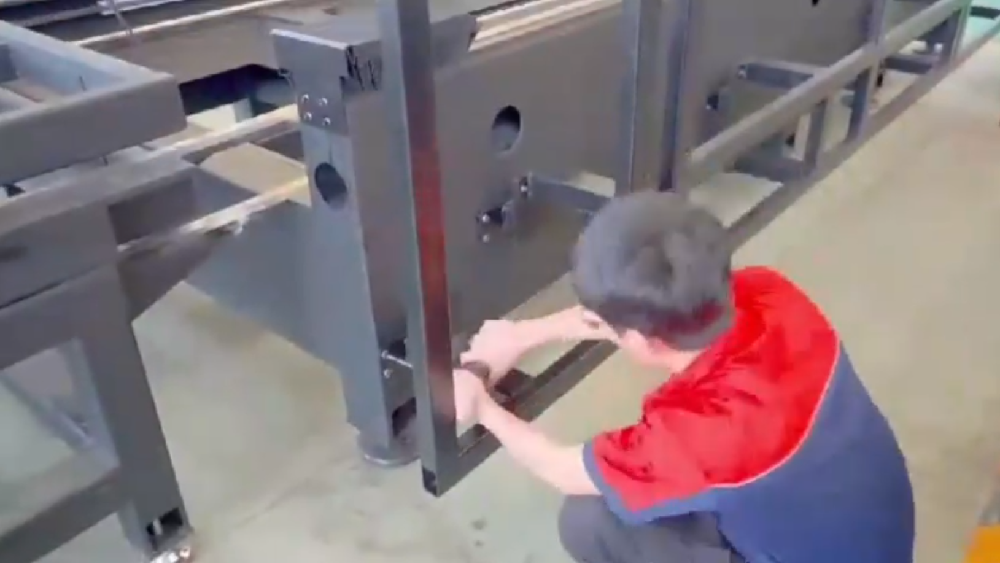
Good preparation helps simplify the subsequent assembly process and reduces unnecessary interruptions during installation.
Stage 2: Main Frame Assembly
Install the primary enclosure frame according to the machine layout.
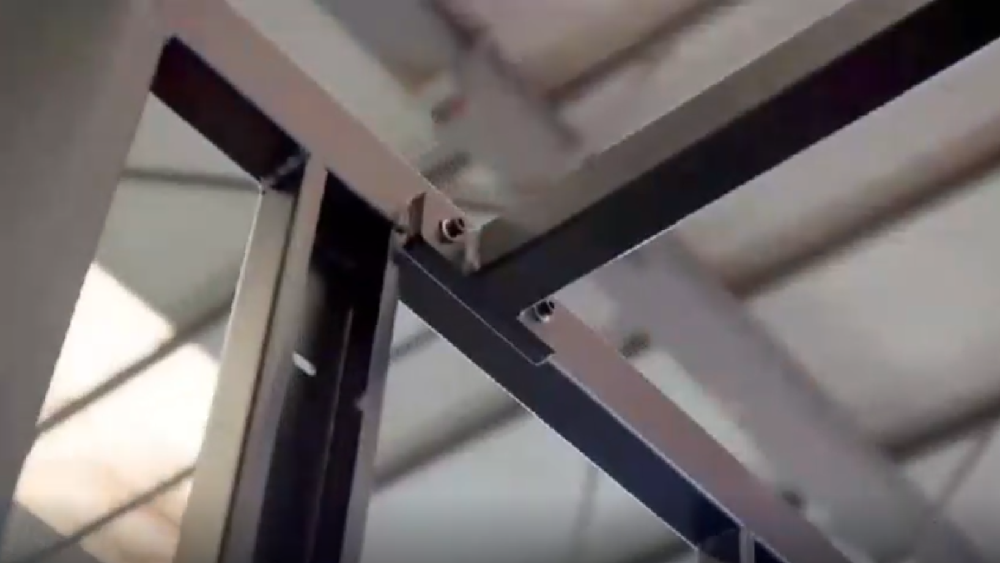
During assembly, connect each structural member in sequence while leaving the fastening bolts slightly loose until the overall frame has been completed. This allows small alignment adjustments before the final tightening process.
After the complete frame has been assembled, verify that the overall structure remains square and stable before continuing.
Stage 3: Enclosure Panel Installation
Install the enclosure panels one by one according to the designated assembly sequence.

Each panel should fit naturally against the supporting frame without excessive force. Tighten the mounting bolts gradually while checking that adjacent panels remain evenly aligned.
Maintaining consistent gaps between panels improves the overall appearance while preventing interference during future maintenance.
Stage 4: Door and Window Assembly
Once the enclosure panels have been installed, assemble the access doors and observation windows.
Check that every door opens and closes smoothly without contacting the surrounding panels. If adjustment is required, correct the door position before fully tightening the mounting hardware.
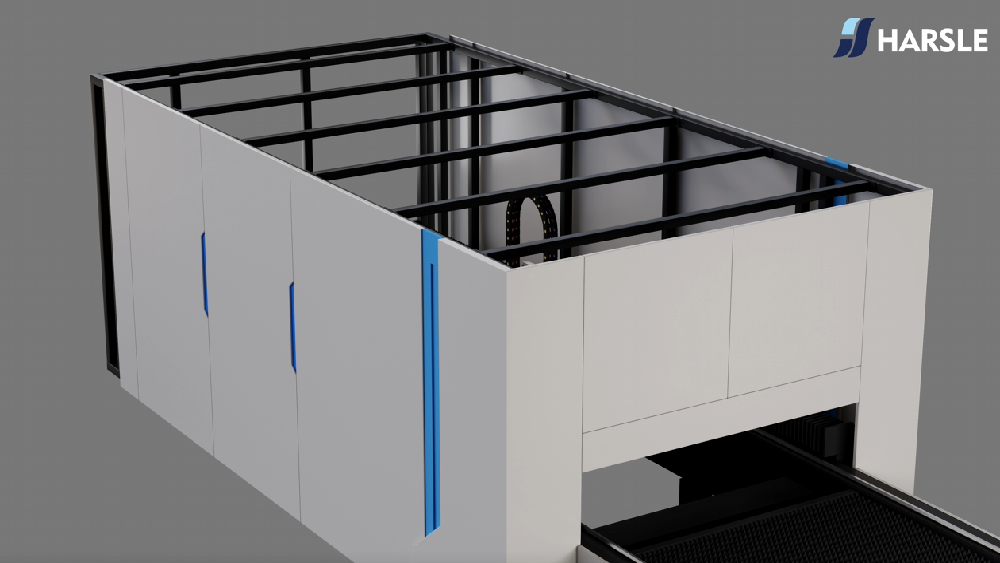
Proper door alignment improves both daily operation and long-term reliability.
Stage 5: Final Fastening and Accessory Installation
After confirming that all structural components are correctly positioned, tighten every fastening bolt according to the recommended sequence.
Install any remaining covers, cable supports, protective plates, handles, or other enclosure accessories included with the machine.
Before completing this stage, perform a final visual inspection to ensure that every component has been installed securely and that no fasteners are missing.
Stage 6: Final Inspection and Commissioning
Complete laser enclosure installation by performing a comprehensive inspection of the assembled enclosure.
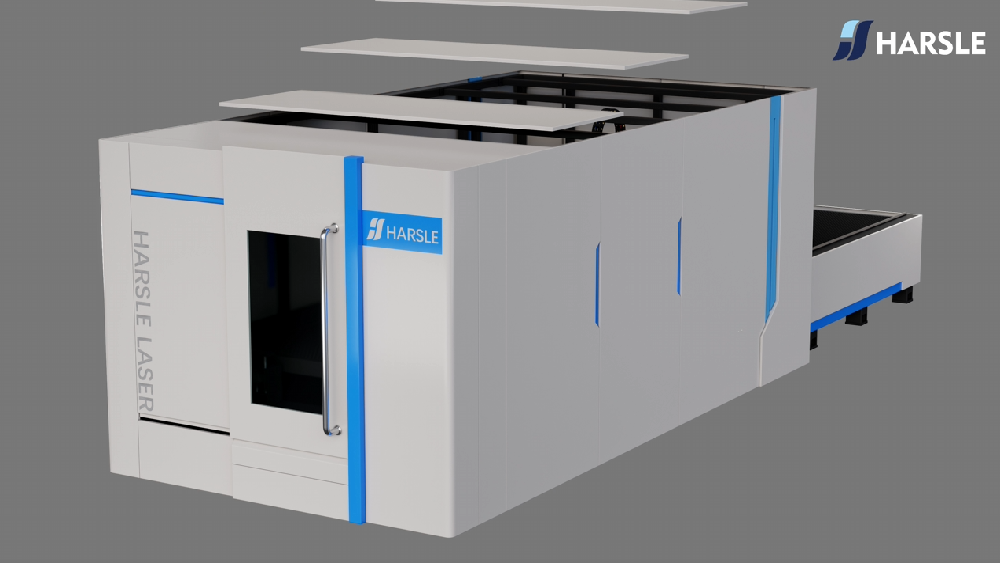
Verify that all panels are securely fixed, doors operate normally, observation windows are properly installed, and sufficient clearance exists around all moving machine components.
If the enclosure includes safety interlocks or electrical accessories, verify that these functions operate correctly before placing the machine into normal service.
A complete inspection before commissioning helps ensure safe operation while reducing future maintenance requirements.
Trial Verification
Before the laser cutting machine enters production, perform several functional checks on the completed enclosure.
Open and close each access door repeatedly to verify smooth movement and proper alignment. Confirm that every panel remains securely fastened and that no vibration or abnormal noise occurs during machine movement.
If the enclosure is equipped with safety switches or interlock devices, verify that they respond correctly according to the machine operating requirements.
Careful verification immediately after laser enclosure installation helps ensure reliable operation and improves overall installation quality.
Important Notes
Although the general principles described in this guide apply to most fiber laser cutting machines, the enclosure structure, assembly sequence, and fastening methods may differ depending on the machine manufacturer and enclosure design.
For this reason, the installation procedure presented in this guide and accompanying video should be regarded as a general technical reference. During actual laser enclosure installation, always follow the equipment manual and consult the manufacturer’s technical support whenever necessary.
Conclusion
Successful laser enclosure installation requires careful preparation, accurate frame assembly, proper panel alignment, and thorough final inspection. Every installation stage contributes to the overall safety, appearance, and reliability of the laser cutting machine.
By following a standardized installation procedure and verifying every component before commissioning, manufacturers can improve installation efficiency while ensuring that the enclosure provides effective protection throughout the machine’s service life.
Maintenance Tips
A properly installed enclosure requires regular inspection to maintain its protective performance and overall appearance.
- Check all fastening bolts periodically to ensure they remain securely tightened.
- Inspect enclosure panels for deformation, looseness, or accidental damage after transportation or relocation.
- Clean the observation windows regularly to maintain clear visibility during machine operation.
- Lubricate door hinges and moving mechanisms when necessary to ensure smooth opening and closing.
- Verify that all doors, protective covers, and safety interlock devices operate correctly before production.
- If any enclosure components are removed during machine maintenance, reinstall and inspect them carefully before restarting the machine.
Routine maintenance helps extend the service life of the enclosure while ensuring a safe and efficient operating environment.
FAQ
1. Why is laser enclosure installation important?
A properly installed enclosure helps protect operators from laser radiation, reduces dust and smoke leakage, improves machine appearance, and creates a safer working environment. It also protects internal machine components from external contamination.
2. Should all enclosure bolts be tightened immediately during assembly?
No. During the frame assembly stage, it is recommended to leave the fastening bolts slightly loose until the complete enclosure structure has been assembled and aligned. Final tightening should only be performed after confirming that all panels, doors, and structural components are correctly positioned.
3. Do all laser cutting machines use the same enclosure installation method?
Not necessarily. Different manufacturers and machine models may use different enclosure structures, panel layouts, fastening methods, and safety devices. The installation procedure presented in this guide should be used as a general reference. Always follow the equipment manual or consult the manufacturer’s technical support for model-specific instructions.


