


When installing a new tube bending machine, following a Tube Bender Installation Guide correctly can make the difference between smooth production and costly downtime. If you’ve just purchased a tube bender and want to make sure it’s installed, calibrated, and ready to perform at its best, this article will walk you through every essential step. I’ll explain how to prepare your workspace, connect and align the machine, check the hydraulic and electrical systems, and perform final commissioning tests. By the end, you’ll know how to achieve a safe, efficient, and accurate setup for long-term reliability and top-quality bending results.
Preparing for Installation
Before diving into the setup, proper preparation ensures the installation process goes smoothly and prevents potential issues later.
Step 1: Verify the Installation Site
Make sure the area where you’ll install the tube bender is clean, dry, and level. Uneven ground can cause alignment issues, affecting bending accuracy. Also, ensure the site has adequate space for material feeding, operator access, and maintenance.
Step 2: Check Power and Hydraulic Requirements
Review the specifications in your Tube Bender Installation Guide for the correct voltage, frequency, and hydraulic oil type. Using incorrect electrical input or unsuitable oil can damage critical components. Before connecting power, verify the main breaker rating and ground connection.
Step 3: Unpack and Inspect the Machine
After unpacking, inspect all components carefully for shipping damage. Ensure that all accessories, such as bending tools, clamps, and control panels, are included. If any parts are missing or damaged, contact the manufacturer before proceeding with installation.
Step-by-Step Tube Bender Installation Process
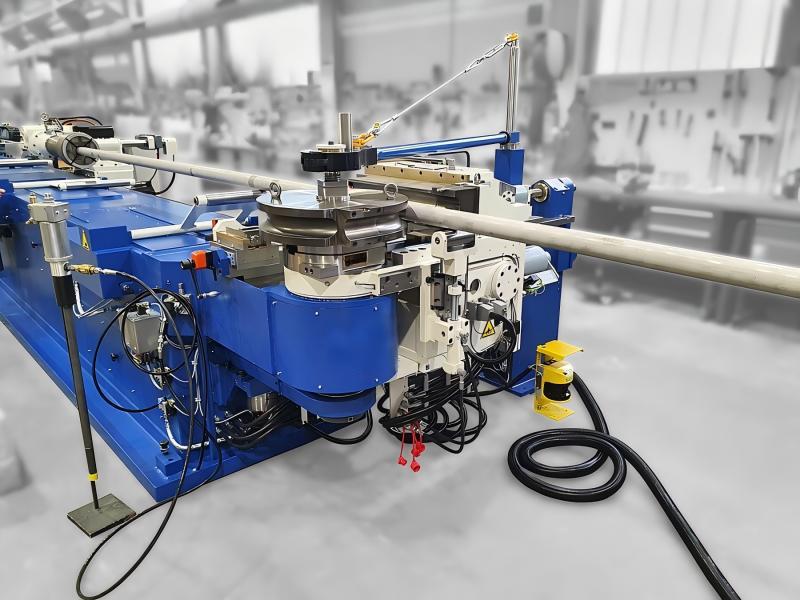
Step 1: Positioning and Leveling the Machine
Move the machine to its final position using a forklift or crane, depending on its size. Place vibration-damping pads beneath the base, then use precision levels to check horizontal and vertical alignment. Proper leveling prevents uneven bending and premature wear on guide rails and cylinders.
Step 2: Connecting Hydraulic and Electrical Systems
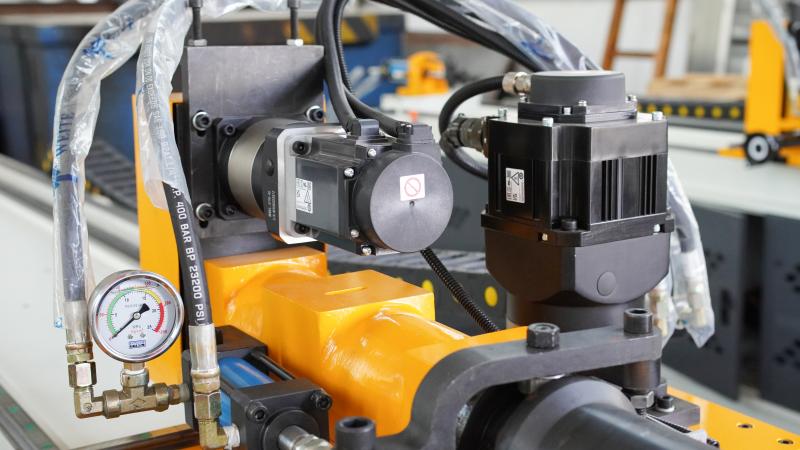
Follow the Tube Bender Installation Guide instructions to connect hydraulic lines between the main pump and bending cylinder. Make sure all fittings are clean and tightened securely. Next, connect the electrical cables, ensuring that the control system, servo motors, and sensors are wired correctly. Double-check the phase sequence to prevent reverse motor rotation.
Step 3: Software and Control Calibration
Once the machine is powered on, verify that the control panel and software interface are functioning correctly. Calibrate the axes using the manufacturer’s instructions — typically involving homing cycles, zero-point alignment, and sensor verification. Proper calibration guarantees precise angle control and consistent bending quality.
Step 4: Tooling Installation and Alignment
Install the bending die, pressure die, and clamp die according to the machine’s specification. Align each tool carefully to the tube centerline to avoid distortion during bending. Some advanced CNC benders feature automatic tool calibration, which simplifies this step.
Step 5: Running the First Test Bend

Before full production, perform a test bend using scrap material. Monitor the bending angle, surface finish, and tube deformation. Adjust the clamping pressure, bending speed, and angle compensation if necessary. Once the results match your target specification, the machine is ready for production.
Common Mistakes to Avoid During Tube Bender Installation
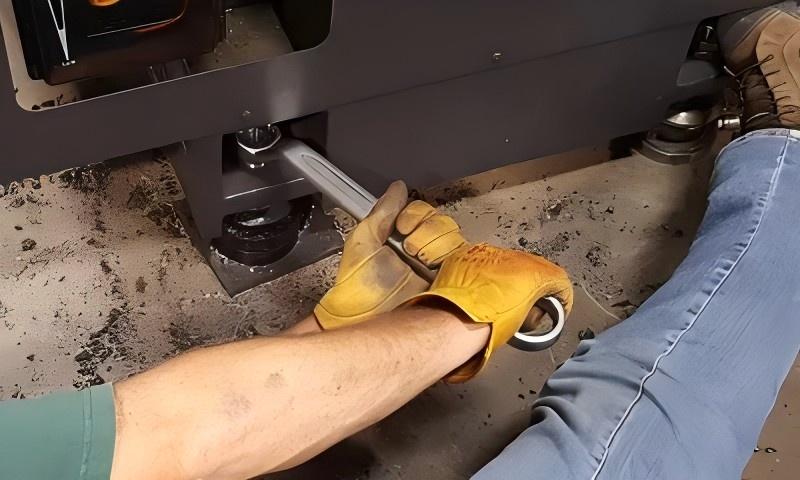
Ignoring Leveling and Foundation Setup
Many operators skip detailed leveling because it seems minor — but even small misalignments can lead to uneven bends and increased wear on components.
Using the Wrong Hydraulic Oil
Always use the oil type and viscosity recommended in the Tube Bender Installation Guide. Incorrect oil can reduce system pressure, slow bending speed, and shorten pump life.
Skipping Control Calibration
If you skip axis calibration or rely on default settings, your first bends may show incorrect angles or inconsistent results. Always complete software calibration before running production.
Maintenance and Post-Installation Checks
Routine Inspections
After installation, inspect hoses, fittings, and cables weekly for signs of wear or leaks. Check oil levels regularly and replace filters according to the maintenance schedule.
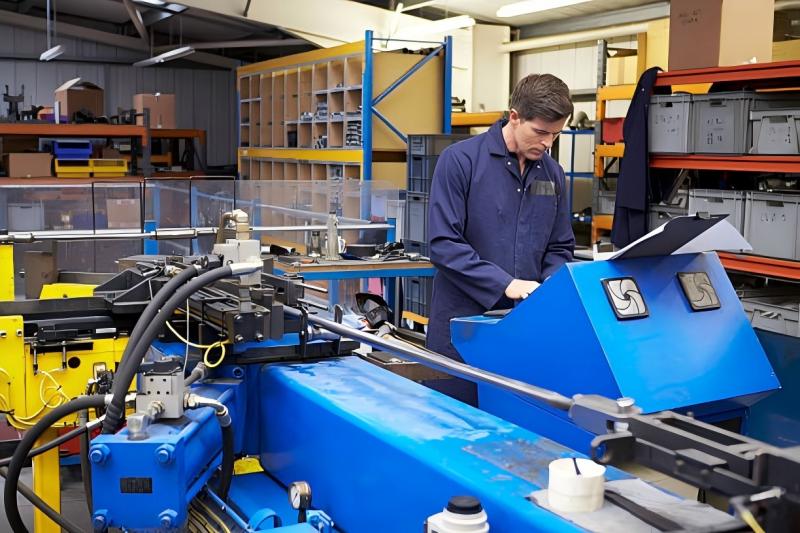
Operator Training
Provide your staff with hands-on training using the installation guide and control manual. A well-trained operator can quickly identify errors and maintain optimal productivity.
Updating Software and Parameters
Keep your control system software up to date. Manufacturers often release firmware updates to improve bending accuracy and safety features.
FAQ
How long does a full tube bender installation take?
Most standard CNC tube benders take 1–3 days to install, including electrical setup, calibration, and testing. Larger or customized models may take longer.
Can I install the machine without professional support?
While small NC models can be self-installed with the Tube Bender Installation Guide, CNC benders often require professional commissioning to ensure safety and accuracy.
What should I do if my first bends are inaccurate?
Recheck the leveling, tooling alignment, and control calibration. Inaccurate bends often result from improper setup or incorrect material data input.
Conclusion
Following a Tube Bender Installation Guide carefully ensures your machine runs efficiently, safely, and with long-term accuracy. By taking time to prepare the site, verify power and hydraulic connections, align the tooling, and perform proper calibration, you’ll avoid common setup issues and reduce maintenance costs. For additional support, training, or technical consultation, feel free to contact HARSLE’s service team — we’re always ready to help you achieve the best performance from your tube bending equipment.


