


Misaligned Tube Bender Tooling can quickly lead to poor bend quality, rising scrap rates, and unexpected machine wear, making it essential to address the issue as soon as it appears. If you’re looking for a clear and practical way to fix this problem, you’re in the right place. In this guide, I’ll walk you through the common causes of tooling misalignment, how to diagnose the issue, and the steps you can take to restore precise bending results. Whether you’re an experienced operator or completely new to tube bending, this article will help you identify misalignment early and get your machine running smoothly again.
Understanding Misaligned Tube Bender Tooling
What Causes Tooling Misalignment?
Misaligned tooling can occur for several reasons—from improper installation and worn components to material inconsistencies and incorrect machine calibration. By recognizing these root causes early, you can reduce downtime and maintain consistent bend accuracy.
How to Troubleshoot Misaligned Tube Bender Tooling
Inspecting Tooling Setup for Accurate Tube Bending
Proper setup is the foundation of preventing and fixing tooling misalignment.
Step 1: Verify Tooling Installation and Positioning
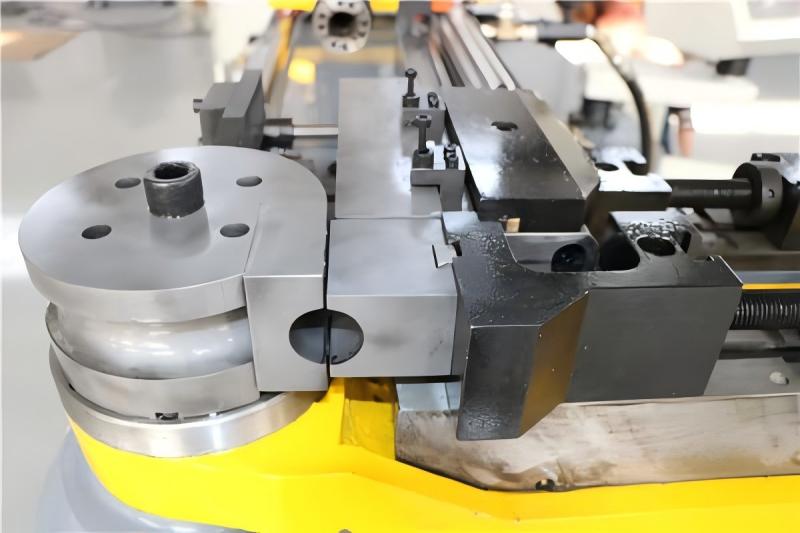
The first step is to check whether the tooling is installed in the correct position. A slight shift in the clamp die, pressure die, or wiper die can immediately cause misalignment during bending. I always start by ensuring each tool is seated properly, tightened securely, and aligned according to the manufacturer’s instructions. Pay special attention to the clamp die, as any gap or tilt will directly affect the bending angle.
Step 2: Check the Centerline Radius and Mandrel Alignment
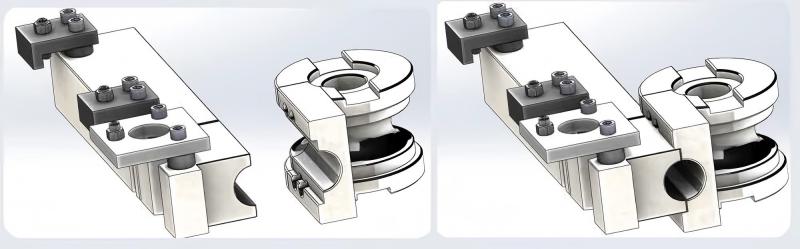
The centerline radius (CLR) must match the tooling specifications. If the mandrel or bending die is not aligned with the machine’s centerline, the tube may twist or bend unevenly. I typically use a straightedge or alignment rod to confirm that the mandrel, pressure die, and bend die are perfectly aligned.
Diagnosing Machine-Related Causes of Misaligned Tube Bender Tooling
Step 1: Inspect Wear on Tooling Components
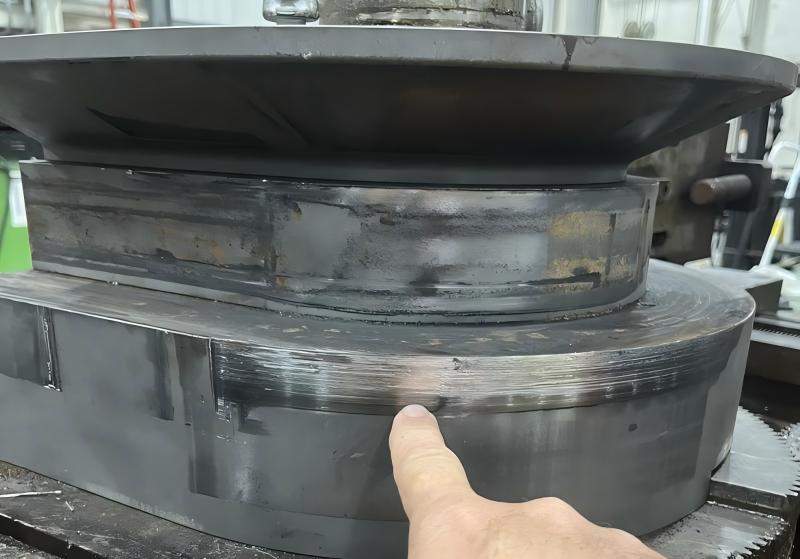
Over time, components such as the clamp die or wiper die can wear out, causing a shift in alignment. If I notice unusual marks on the tube, inconsistent bending results, or slipping during operation, worn tooling is often the culprit. Replacing or reconditioning worn tools is essential to restore proper alignment.
Step 2: Check the Backgauge and Machine Calibration
A miscalibrated machine can produce inaccurate material positioning, which leads directly to tooling misalignment. I always verify the backgauge calibration using digital measurement tools. Additionally, I confirm that the bending head and rotating arm are calibrated according to the machine’s specifications.
Fixing Material-Related Issues That Affect Tooling Alignment
Step 1: Ensure Material Consistency
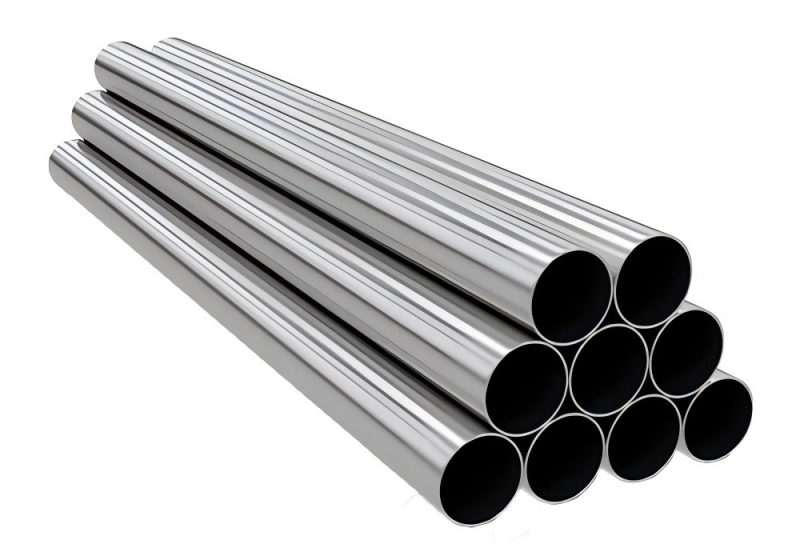
Variations in tube wall thickness, hardness, or composition can affect how the tube seats in the tooling. Before troubleshooting the machine, I check the material batch for inconsistencies. If material variation is the issue, adjusting the pressure die force or clamp force often resolves the deviation.
Step 2: Clean the Tube and Tooling Surfaces
Contaminants such as oil, rust, or metal debris can cause the tube to sit unevenly in the tooling. I make sure to clean both the tube and all tooling surfaces before each setup. A clean contact surface ensures proper gripping and reduces the chance of slipping during bending.
Advanced Troubleshooting Steps for Misaligned Tube Bender Tooling
Step 1: Adjust Pressure Die Assist Settings
Incorrect pressure die assist can pull or push the tube unevenly, causing misalignment. I adjust the pressure die force gradually to find the optimal pressure that supports the tube without overloading it.
Step 2: Examine Mandrel Extension and Lubrication
If the mandrel extension is too short or too long, the tube may deform and shift during bending. I always verify the mandrel’s position and lubrication condition. Proper lubrication helps ensure smooth material flow and prevents unexpected alignment shifts.
FAQs
What is the most common cause of Misaligned Tube Bender Tooling?
The most common cause is improper tooling installation. Even a small deviation in tool positioning can lead to misalignment during bending.
How do I know if my tooling is misaligned?
Common signs include tube slipping, uneven bend angles, surface marks, or inconsistent results across multiple bends. Misalignment is especially noticeable when the tube twists or pulls away from the die.
How often should I calibrate my tube bender to prevent tooling misalignment?
I recommend performing a full calibration every month or after any major tooling change. If you notice sudden deviations in accuracy, recalibration should be done immediately.
Can material inconsistencies cause tooling misalignment?
Yes. Tubes with uneven wall thickness or hardness can seat improperly in the tooling, leading to bend distortion or alignment issues.
Conclusion
Misaligned Tube Bender Tooling can lead to major bending inaccuracies, but with the right troubleshooting approach, you can quickly locate the source of the problem and fix it. By inspecting your tooling setup, calibrating your machine regularly, checking for material inconsistencies, and maintaining clean tooling surfaces, you can significantly improve your bending accuracy. If you need more detailed support or want professional recommendations for tooling selection and calibration, feel free to contact our HARSLE technical team anytime.


