


Lockout-Tagout Procedures for Press Brake are essential to ensure safety during maintenance and troubleshooting tasks. When working with press brakes, I always prioritize proper energy isolation to prevent accidental startup and protect operators from potential hazards. If you’re looking for a clear and practical approach, you’re in the right place. In this guide, I’ll walk you through how to safely disconnect energy sources, apply lockout devices, and verify machine isolation. Whether you’re an operator, technician, or maintenance engineer, understanding these procedures will help you reduce risks, improve workplace safety, and maintain efficient, compliant operations.
Why Lockout-Tagout Procedures for Press Brake Are Essential
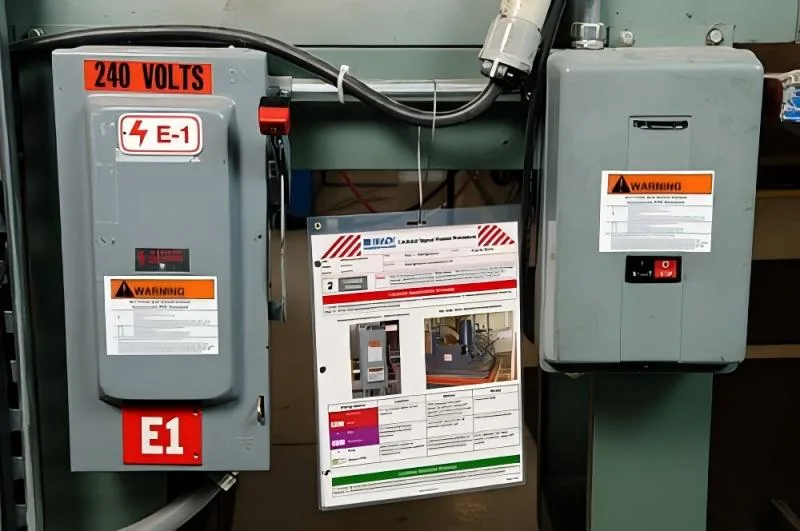
Press brakes involve multiple energy sources, including electrical, hydraulic, and sometimes pneumatic systems. If these energy sources are not properly controlled, unexpected machine movement can occur during servicing.
Applying Lockout-Tagout Procedures for Press Brake ensures:
- Complete isolation of hazardous energy
- Protection for maintenance personnel
- Compliance with international safety standards
- Reduced risk of costly accidents and downtime
Ignoring these procedures can lead to severe injuries, equipment damage, and legal consequences.
How to Apply Lockout-Tagout Procedures for Press Brake Step by Step
Step 1: Prepare for Shutdown
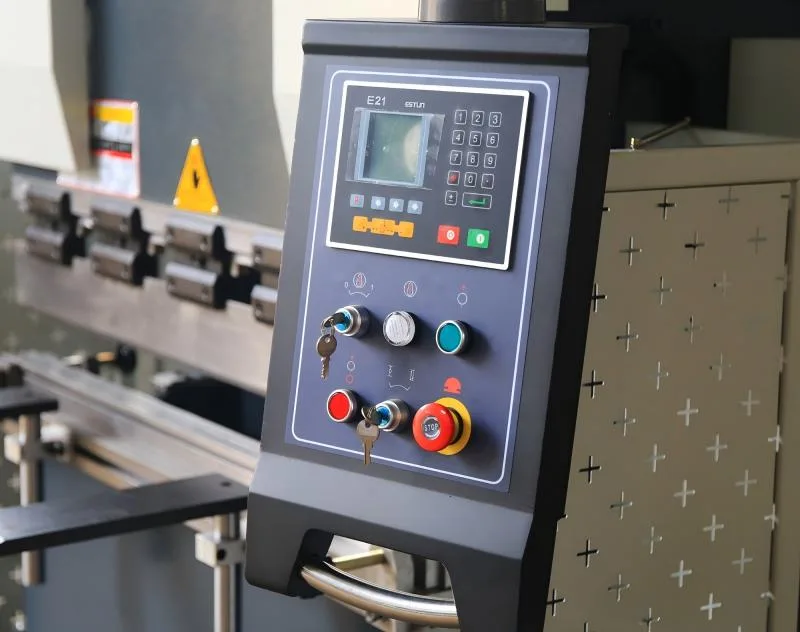
Before starting any maintenance task, I always identify all energy sources connected to the press brake. This includes:
- Main electrical power supply
- Hydraulic pressure systems
- Stored mechanical energy (ram position)
I also notify all operators and nearby workers that the machine will be shut down.
Step 2: Shut Down the Press Brake
Next, I follow the standard shutdown procedure:
- Turn off the machine via the control panel
- Stop all active operations
- Ensure the ram is in a safe position
This step ensures that the machine is no longer actively running before isolation begins.
Step 3: Isolate All Energy Sources
This is the core of Lockout-Tagout Procedures for Press Brake. I physically disconnect or isolate all energy sources:
- Switch off and lock the main electrical disconnect
- Release hydraulic pressure from the system
- Block or secure moving parts if necessary
Proper isolation prevents any accidental energy flow.
Step 4: Apply Lockout Devices and Tags
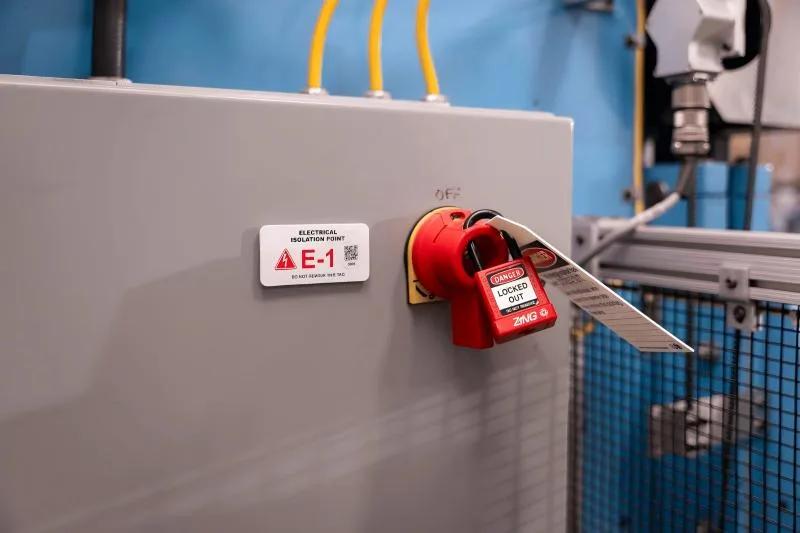
After isolation, I attach lockout devices:
- Place a padlock on the disconnect switch
- Attach a warning tag with my name, date, and purpose
The tag clearly indicates that maintenance is in progress and the machine must not be operated.
Step 5: Release Stored Energy
Even after isolation, some residual energy may remain. I always:
- Discharge hydraulic accumulators
- Ensure no pressure remains in cylinders
- Verify that all moving parts are stable
This step is critical to fully eliminate hidden risks.
Step 6: Verify Isolation (Try-Out Test)
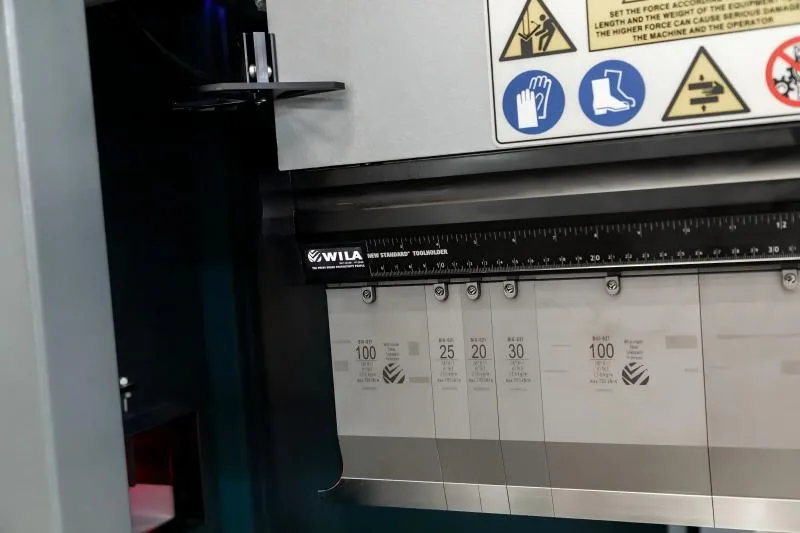
Before starting work, I perform a test:
- Attempt to start the machine using the control panel
- Confirm that no movement or power is present
If the machine does not respond, I know the lockout procedure is successful.
Common Press Brake Safety Tips During Lockout
Routine Inspections
I regularly check lockout devices and tags to ensure they are properly applied and not damaged.
Communication and Coordination
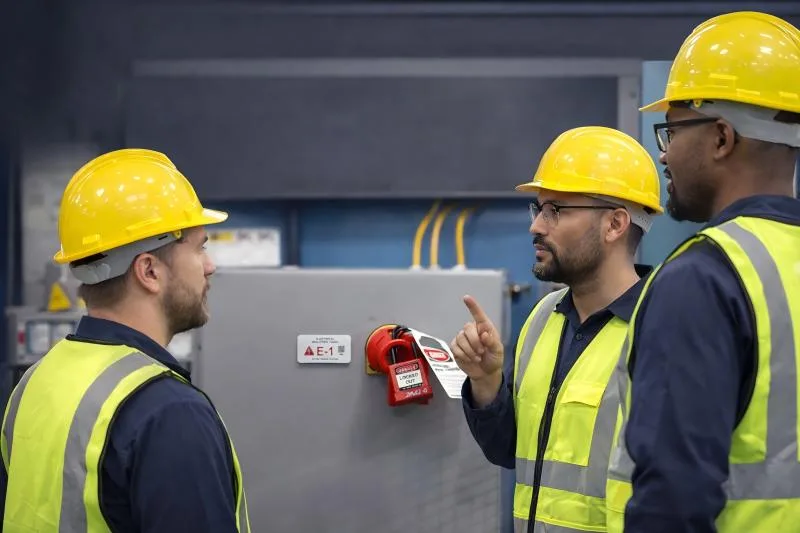
Always communicate with team members. Never assume someone else has completed the lockout process.
Avoid Shortcuts
Skipping steps in Lockout-Tagout Procedures for Press Brake can lead to dangerous situations. I always follow the full procedure without exception.
Common Mistakes to Avoid
Many operators make avoidable mistakes during lockout procedures:
- Failing to identify all energy sources
- Not releasing stored hydraulic pressure
- Forgetting to verify isolation
- Using improper or missing tags
Avoiding these errors significantly improves workplace safety.
FAQs
Why are Lockout-Tagout Procedures for Press Brake important?
They prevent accidental machine startup and protect workers from hazardous energy during maintenance or repair.
How do I verify that my press brake is safely locked out?
Perform a try-out test by attempting to start the machine. If it does not respond, the isolation is effective.
Can I skip releasing hydraulic pressure if the machine is powered off?
No. Stored hydraulic energy can still cause movement, so it must always be released.
Conclusion
Applying Lockout-Tagout Procedures for Press Brake is not just a safety requirement—it’s a responsibility. By properly isolating energy sources, applying lockout devices, and verifying the system, I can ensure a safe maintenance environment and prevent serious accidents.
If you want to improve your press brake safety practices or need professional guidance, feel free to explore more HARSLE documentation or contact our team for expert support.


