


Learn how to perform ESA S875 tool import step by step, including importing punch and die files, checking tool dimensions, and managing tooling data.
IIntroduction
Accurate tooling data is essential for efficient CNC press brake operation, particularly when manufacturers frequently change between different punches and dies to accommodate various bending requirements. Instead of manually entering the dimensions and profiles of each tool, operators can use the ESA S875 tool import function to transfer existing tooling information into the controller, making the setup process more convenient and reducing repetitive data entry.
This tutorial introduces the general procedure for importing tooling files into the ESA S875 controller, explains the differences between available import methods, and provides practical recommendations for verifying and managing imported tooling data.
Understanding ESA S875 Tool Import
The ESA S875 tool import function allows operators to add existing punch and die information to the controller’s tooling database, where the data can be accessed during subsequent bending program preparation.
In a typical press brake application, tooling information includes the tool name, geometric profile, height, and other relevant dimensions that may influence bending calculations or graphical simulation. Maintaining accurate records is particularly important because the controller relies on the entered tooling information when performing functions associated with bending setup.
By importing previously prepared tool files, manufacturers can reduce the time required to establish a tooling library, especially when multiple tools must be configured for different production tasks.
However, successfully importing a file does not necessarily mean that its dimensions are correct or that the tool is suitable for the intended bending operation. The imported information must still be compared with the physical tooling before production begins.
Preparation Before Importing Tool Files
Before performing ESA S875 tool import, operators should organize the required tooling files and confirm that the controller can access the selected storage location.
It is important to distinguish between upper punches and lower dies because these tools have different geometric characteristics and are managed according to their respective functions in the bending process.
Operators should also check the source of the files and confirm that they are compatible with the controller software, as different software versions or tooling databases may use different file structures.
If the controller already contains a substantial tooling library, creating a backup before making changes is recommended. This precaution helps preserve existing tool records if an incorrect file is imported or an unintended modification occurs.
How to Perform ESA S875 Tool Import
The following procedure describes the main stages of the tool import workflow. Depending on the controller software version, the arrangement and wording of individual interface options may differ.
Step 1: Access the Tool Management Interface
After starting the ESA S875 controller, navigate to the section responsible for managing punches and dies, where existing tooling records can be viewed and additional tool definitions can be created.
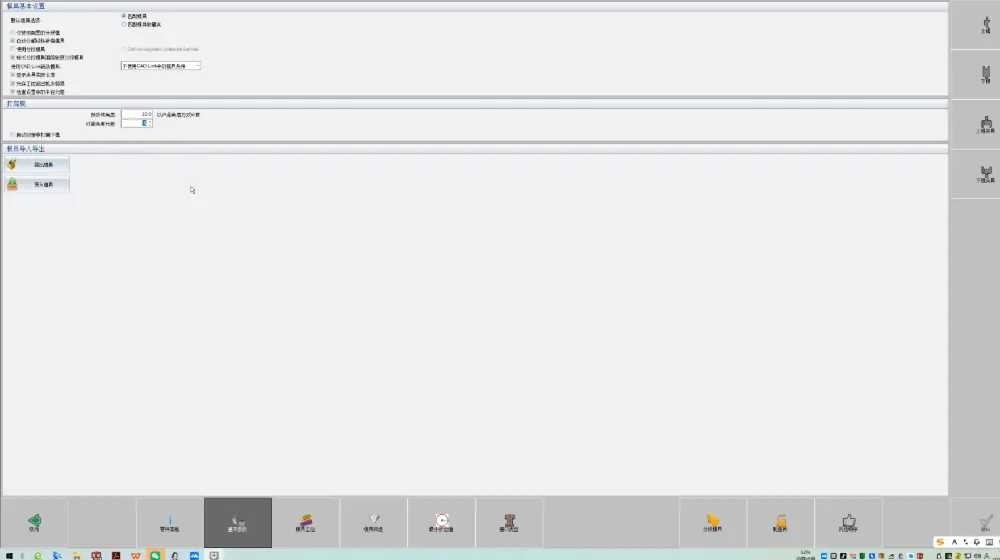
Before proceeding, select the appropriate tooling category according to whether the file represents an upper punch or a lower die. Choosing the correct category helps ensure that the imported profile is stored in the intended section of the tooling database.
Step 2: Open the Tool Definition Window
Within the tool management interface, access the function used to define a new tool.
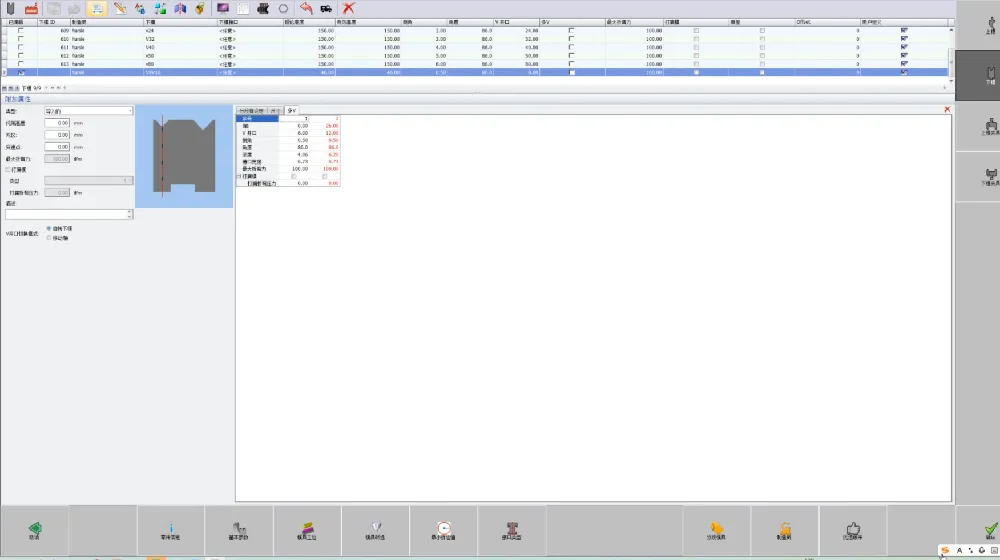
In the demonstrated lower-die interface, the tool definition window provides options for creating a profile through parameter entry or importing an existing file. When suitable tooling data has already been prepared, selecting the import function can eliminate the need to redraw the tool geometry manually.
This stage is particularly useful for manufacturers that maintain electronic tooling records supplied by their tooling department or other compatible sources.
Step 3: Select the Appropriate Import Method
The demonstrated interface includes options for importing an individual file or selecting a folder, allowing operators to choose a method based on how their tooling data is organized.
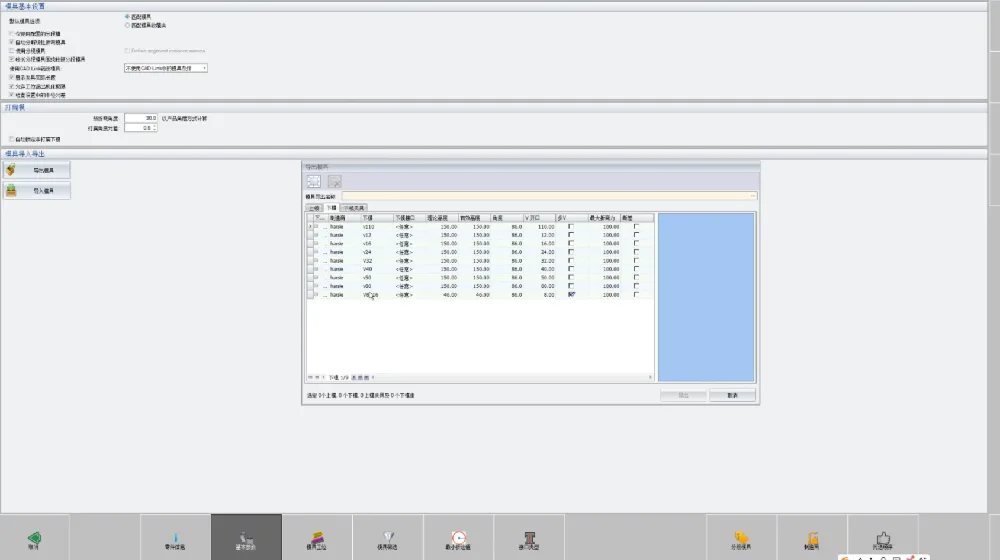
Import Single File
This option is appropriate when an operator needs to add one specific tool profile to the controller. After opening the file selection window, the required file can be located and selected for the import operation.
Import Folder
The folder import option is intended for situations where tooling files are organized within a directory, potentially simplifying the selection process when multiple tool records are involved.
Nevertheless, the presence of a folder import option should not be interpreted as confirmation that every file in the selected directory will be imported successfully, since actual compatibility depends on the controller software and the file formats involved.
Step 4: Locate and Select the Tool Data
After choosing the required import method, use the file selection window to navigate to the location containing the prepared tooling data.
Before confirming the selection, carefully check the file name, directory, and any available measurement-unit settings. If tooling dimensions are interpreted using an incorrect unit system, the resulting profile may differ significantly from the actual tool geometry.
Once the required file or folder has been selected, proceed according to the confirmation options displayed on the controller.
Step 5: Verify the Imported Tool Information
After the ESA S875 tool import operation, return to the appropriate tooling list and check whether the required tool record is available.
If the imported tool appears in the database, open its details and compare the displayed profile with the physical punch or die, paying particular attention to the tool height, geometric dimensions, and orientation.
If the tool cannot be located, operators should review the original file location, selected import method, and file compatibility before attempting the operation again.
Why Tool Verification Matters
Although importing tooling data can simplify controller setup, the accuracy of the imported information remains essential for reliable bending operations.
For example, an incorrect punch height or die geometry may affect the controller’s representation of the tooling arrangement, while an inaccurate profile can reduce the reliability of graphical collision checks.
The supplied KVARA S675/S875W operating manual also explains that punch drawings are used for graphical anti-collision checks, while bending-depth calculations depend on the relevant punch dimension data. This distinction demonstrates why both the tool profile and its numerical dimensions require attention.
Therefore, operators should verify imported tooling records against the actual tooling and follow the machine’s normal setup procedures before starting production.
Practical Recommendations for Tool Data Management
To maintain an organized tooling database, manufacturers should establish consistent naming conventions that make it easy to distinguish between different punch profiles, die openings, and tool dimensions.
Original tooling files should be stored separately from working copies so that the source data remains available if a tool record needs to be recreated or corrected.
In addition, regular backups can help protect the tooling library against accidental deletion or controller-related data loss.
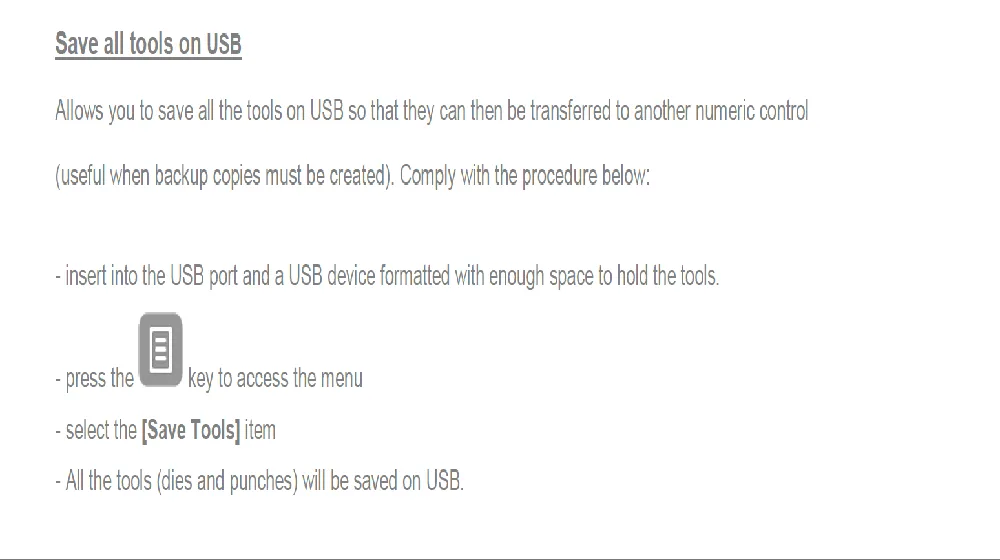
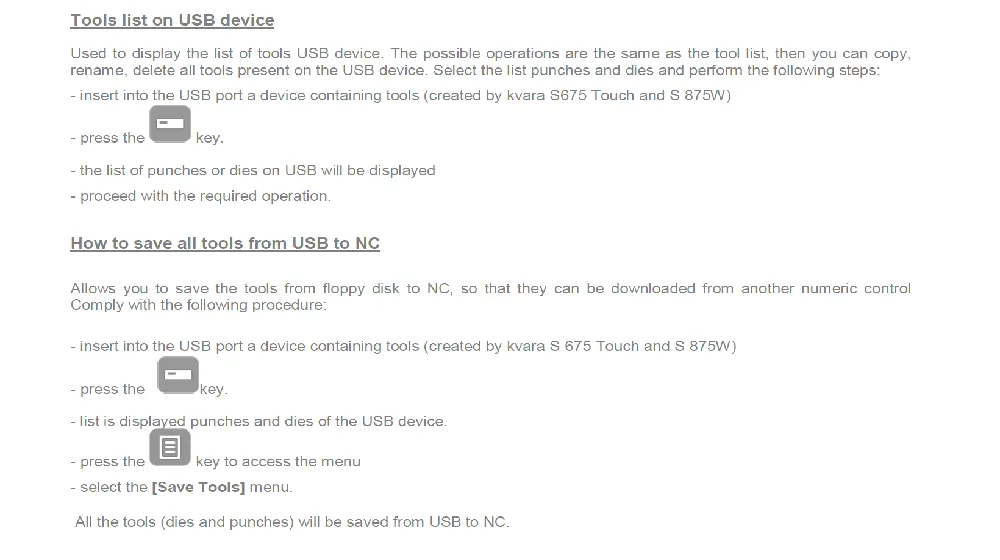
The KVARA S675/S875W manual describes functions for saving punches and dies to a USB device and transferring compatible tooling data between a USB device and the numerical controller. Although these functions provide useful guidance for tooling management, their exact operating procedure should be verified against the installed ESA S875 software version rather than assumed to be identical.
For manufacturers that frequently introduce new tooling, combining regular backups with a consistent verification procedure can make future tool management more efficient.
Conclusion
ESA S875 tool import offers a convenient approach to adding existing punch and die information to a CNC press brake controller, reducing repetitive manual input while helping operators maintain an organized tooling database.
By preparing compatible files, selecting the appropriate import method, and carefully checking the resulting tool records, operators can improve setup efficiency without compromising the accuracy of the tooling information used during bending preparation.
For additional press brake operating tutorials, technical documentation, and maintenance guidance, visit HARSLE.


